Before and after: A 1980s Queensland house transformed for $17,000
When Melissa Darr and husband Bevan purchased their 1980s home in Toowoomba, they knew it wasn’t going to stay the same for long.
The brick house had good bones and some rooms had been updated over the years, but the couple wanted to improve key areas without spending a fortune.
Updating the floors, revamping the bathroom, tackling the laundry and enhancing the storage made the home much more liveable while adding warmth and character.
A DIY approach kept costs to a minimum, with Melissa sharing much of the journey on her blog.
Flooring makeover
Cost: $10,000
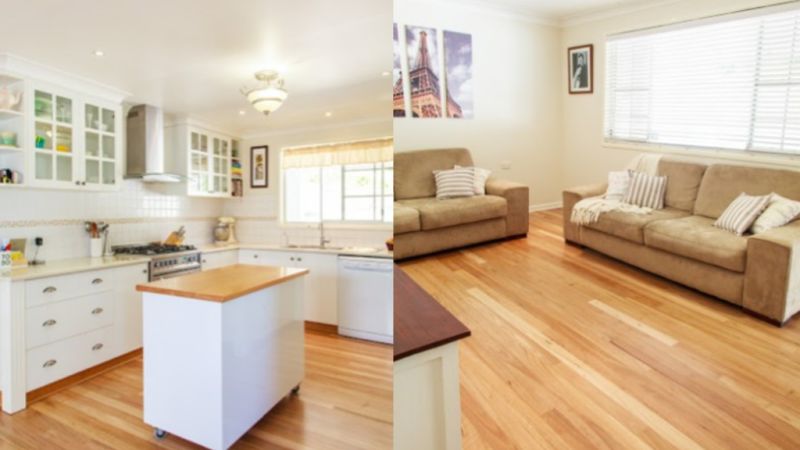
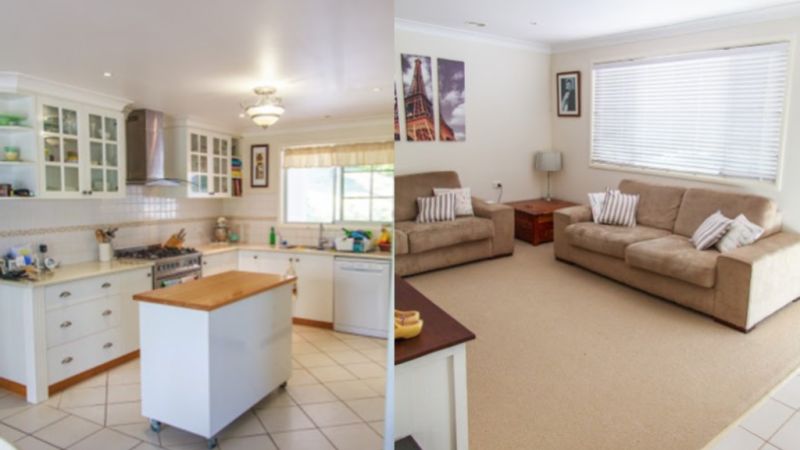
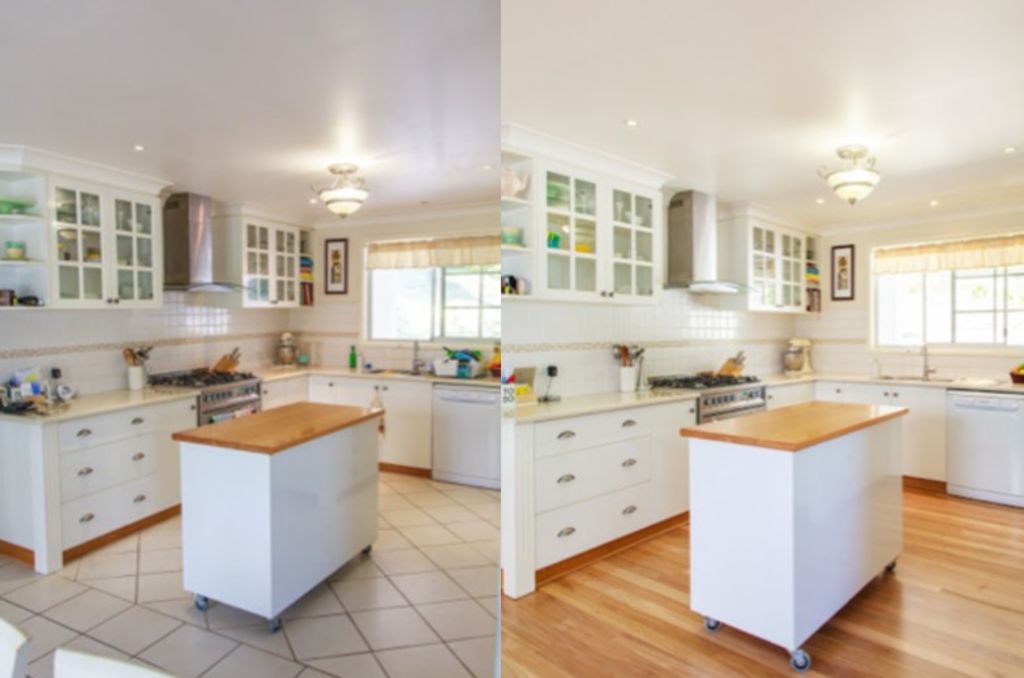
Hating the underfoot chill of the tiled kitchen and hallway, and the dated carpeted family room, it was time to look for an alternative.
To update the space and add warmth, Melissa and Bevan chose to put down blackbutt timber flooring.
The first job was to remove the tiles and the carpet in the sitting room. Next, particle board was laid as a subfloor. The floorboards were then installed and smoothed by a professional sander. Next, four coats of a satin finish were applied to seal the timber and enrich the colour. The result is a cosy, inviting, modern space.
“We are really happy with the how the floors turned out,” Melissa says. “While most people go for the shiny, high-gloss finish, we are really happy with the satin finish we used on these floors – it’s exactly what we wanted.”
“The house looks completely different and even feels different. Warmer, happier, cosier.”
TIP: To avoid buckling, floorboards should be ordered in advance and stored in the room where they will be installed to adjust to the local environmental conditions before installation.
Budget bathroom transformation
Cost: $3500
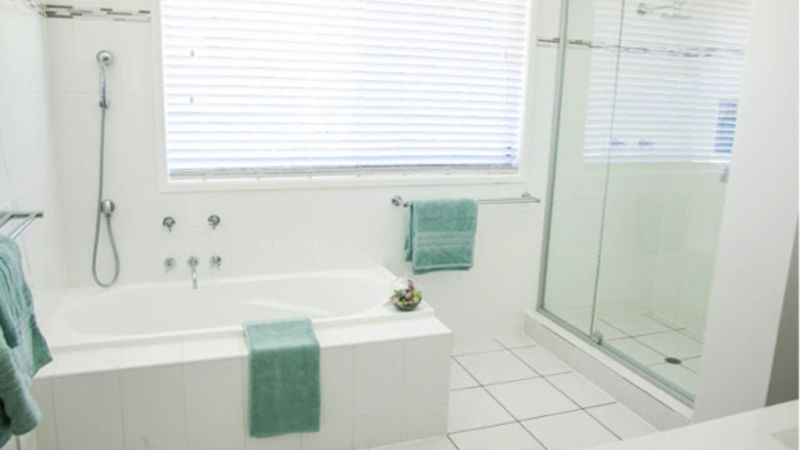
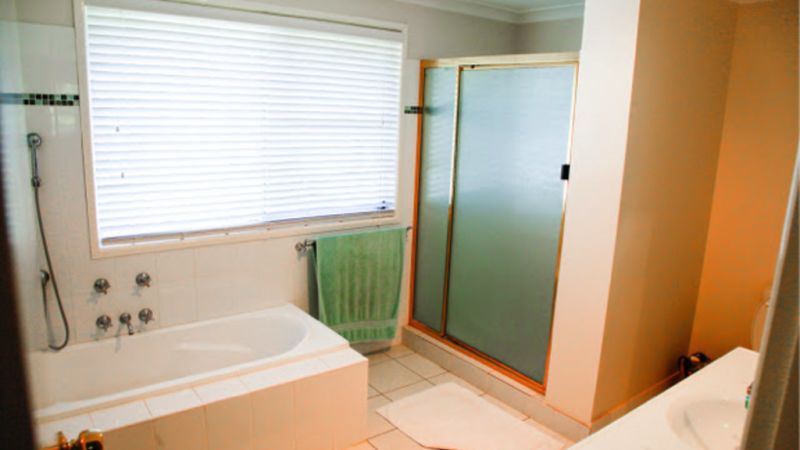
Although the bathroom had been updated since the home was built and was in reasonable condition, the overall look was not what Melissa and Bevan desired. The gold shower edging and feature-tile colours were dated and it was time for a makeover.
“The bathroom had looked like it had been renovated in the last 10 years but not very well,” says Melissa. “The wall and floor tiles were reasonably new, the vanity wasn’t too daggy and it had newish feature tiles around the shower and bathtub.”
The brief was to replace the shower screen, install new feature tiles, replace the loo and accessories, paint and decorate, all for under $5000.
The original feature tiles were removed and the exposed areas were re-waterproofed and updated with new modern tiles.
The shower door was replaced with a modern, matte-silver-edged clear-glass door and new tapware was installed.
As the floor tiles and bath were in good condition, they were retained and re-grouted, giving the tiled areas a fresh look.
A modern vanity with a larger mirror installed above helped to visually enlarge the space, which was completed by repainting the walls and adding indoor plants and colourful accessories.
TIP: Consider selling fixtures that are in good condition to help recoup some of the cost of new items.
Laundry rejuvenation
Cost: $2500
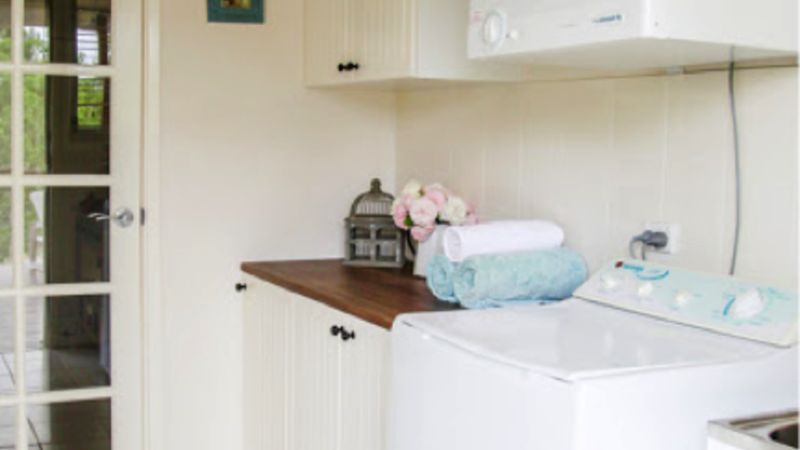
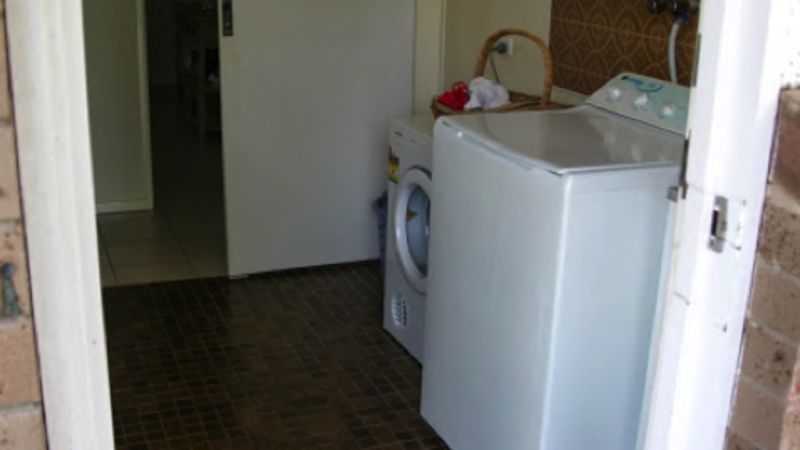
Melissa and Bevan wanted to give the laundry, with its original, dated tiles and splashback, a fresh breath of life in a French country style, while also making it more functional.
“The key items I wanted in this room were some storage space, a new laundry sink and some decorative features to add some interest,” says Melissa.
First, all fixtures were removed and all of the tiles removed and replaced. Swapping the sliding door with a French door allowed the benchtop to extend all the way to the wall while adding natural light to the adjoining hallway.
The couple sourced new cupboards and complemented them with a timber benchtop.
After tiling the splashback and painting the room, it was time to add decorative elements to elevate the space, including a glamorous pendant light.
TIP: Flat-pack cabinetry is ideal for small spaces like laundries, costing a fraction of the price of custom-made cabinets.
Walk-in wardrobe revamp
Cost: $1000
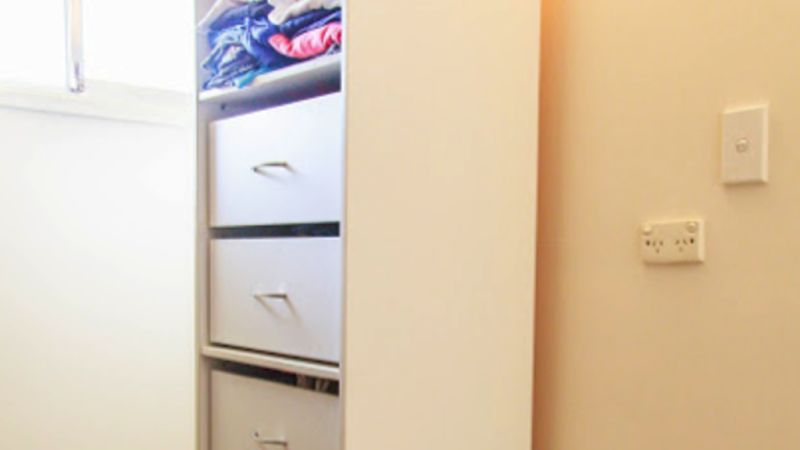
Although the house did come with a walk-in wardrobe — a dream for most renovators — this one had minimal built-in storage.
“The primary goal for both of us was to increase the drawer and shelving space to make the area more functional and spacious to contain our clothes,” Melissa says.
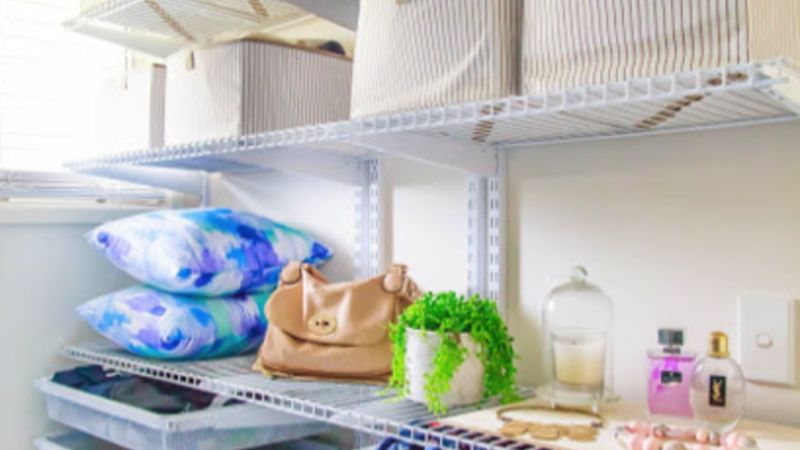
Melissa wanted storage that was customisable, easy to install, didn’t block the natural light, and included lots of open shelving and drawer space.
After researching several options, including timber built-ins and alternative closet systems, Melissa and Bevan chose modular shelving units so they could get exactly what suited their needs and space.
The vertical wall brackets were installed first, and shelving and drawers attached. The wire shelving and drawers allow the light to filter though while allowing air to flow through the wardrobe space.
The couple installed it themselves in one afternoon.
TIP: Ensure shelving systems are mounted to wall studs or brickwork to adequately support the weight of the contents.
We recommend
We thought you might like
States
Capital Cities
Capital Cities - Rentals
Popular Areas
Allhomes
More
