Deck maintenance guide: How to choose timber, refinish boards and prolong the life of your deck
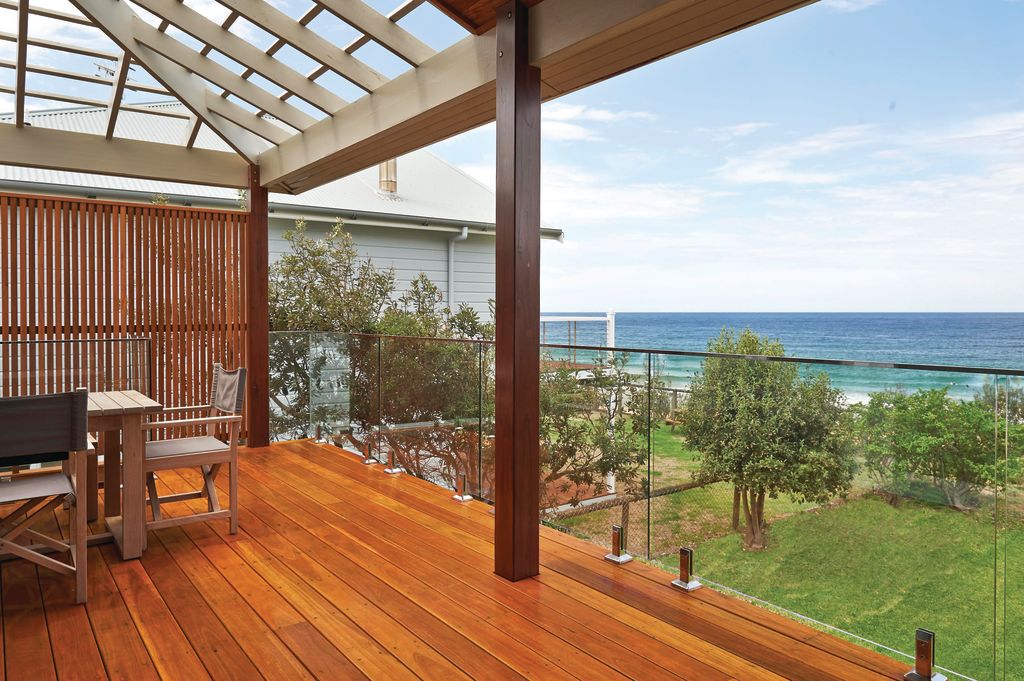
Over the seasons, timber decking is exposed to pouring rain, harsh sun, intense heat and cold winter temperatures, making it expand and contract, which can lead to deterioration.
But regular maintenance will extend the life of a deck, helping it cope with extreme conditions while refreshing the appearance.
It’s surprisingly quick and easy to revamp an old deck making it look new again, and you can choose between several finishes to get the look you are seeking.
Whatever your choice, regular maintenance is key to making it look great and last for a long time.
Which decking timber is best?
Depending on the aspect and your own taste there is a variety of timber choices.
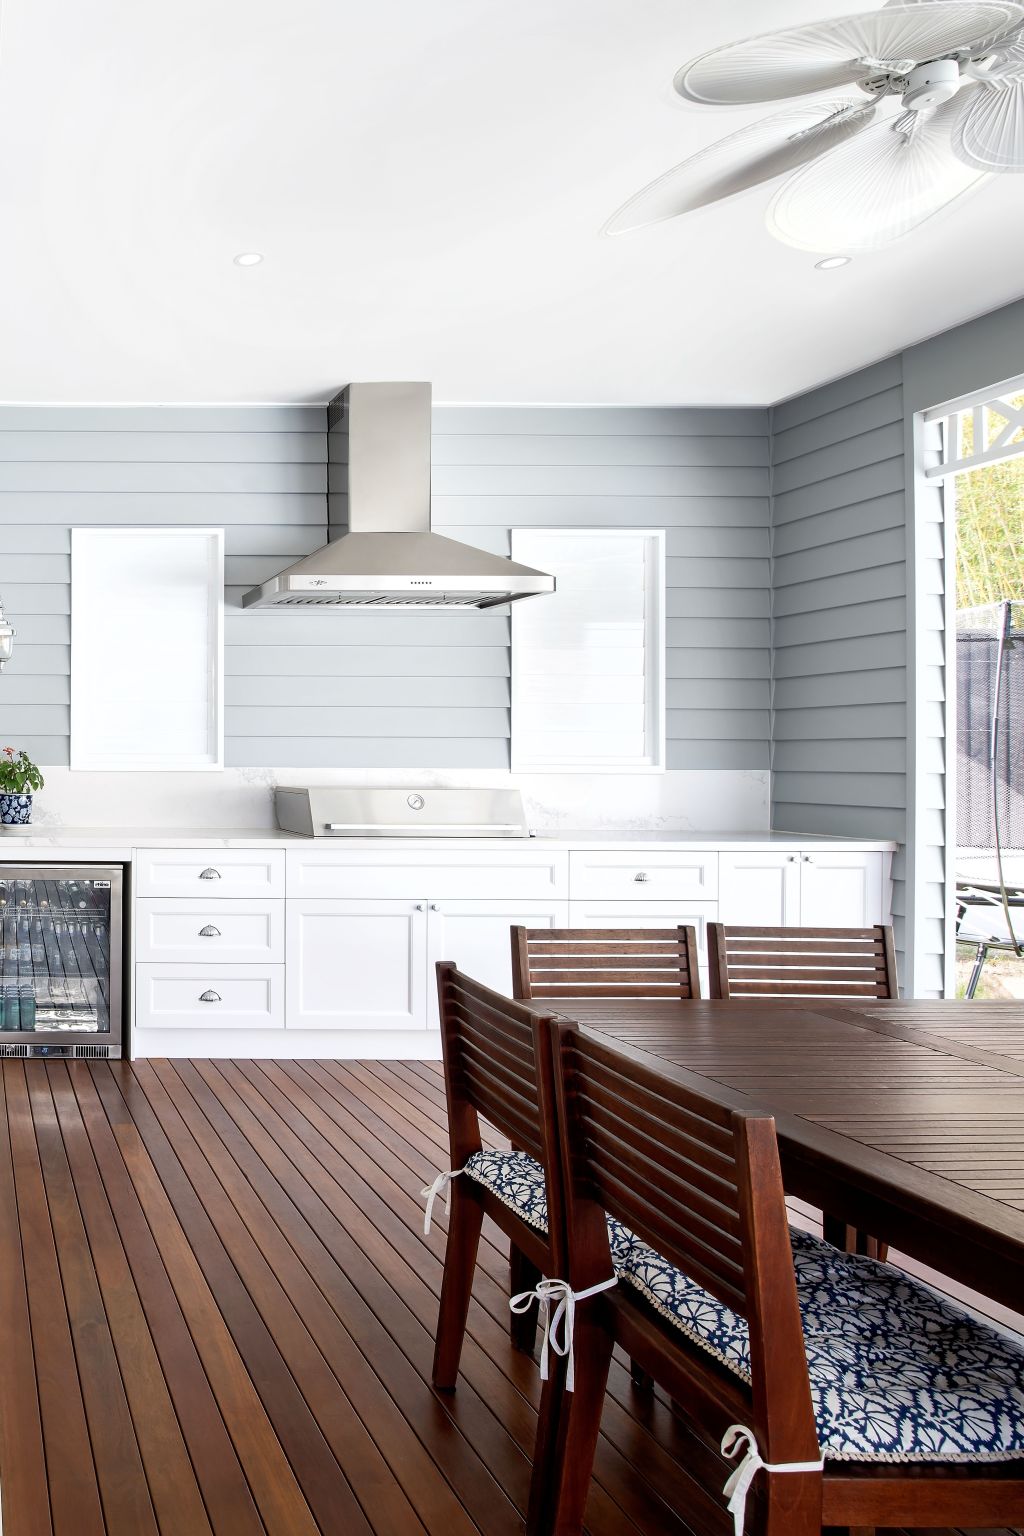
“Choosing the same species of timber for flooring and decking can help to keep the look and feel of indoor and outdoor living spaces consistent, whilst also providing a visual link to the surrounding landscape and appealing to those who love the natural environment,” says Pentarch Forestry sales and distribution general manager Leon Travis.
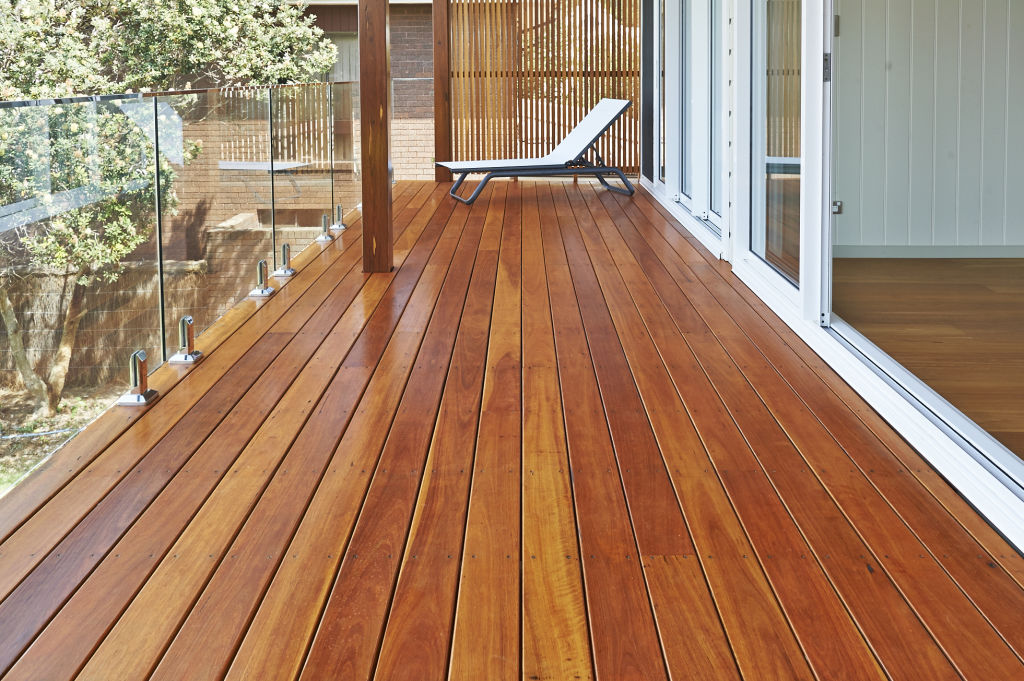
“Lighter-blond timbers, such as blackbutt, tallowwood or white mahogany, are a popular style choice, providing a fresh, neutral canvas for outdoor design schemes and landscaping. Lighter-coloured timber boards can also help to make smaller areas seem larger.”
Travis says some species, including blackbutt and spotted gum, are more suitable for bushfire-prone areas, while blackbutt also offers termite resistance – qualities ideal for Australian conditions.
Are there any no-maintenance decking boards?
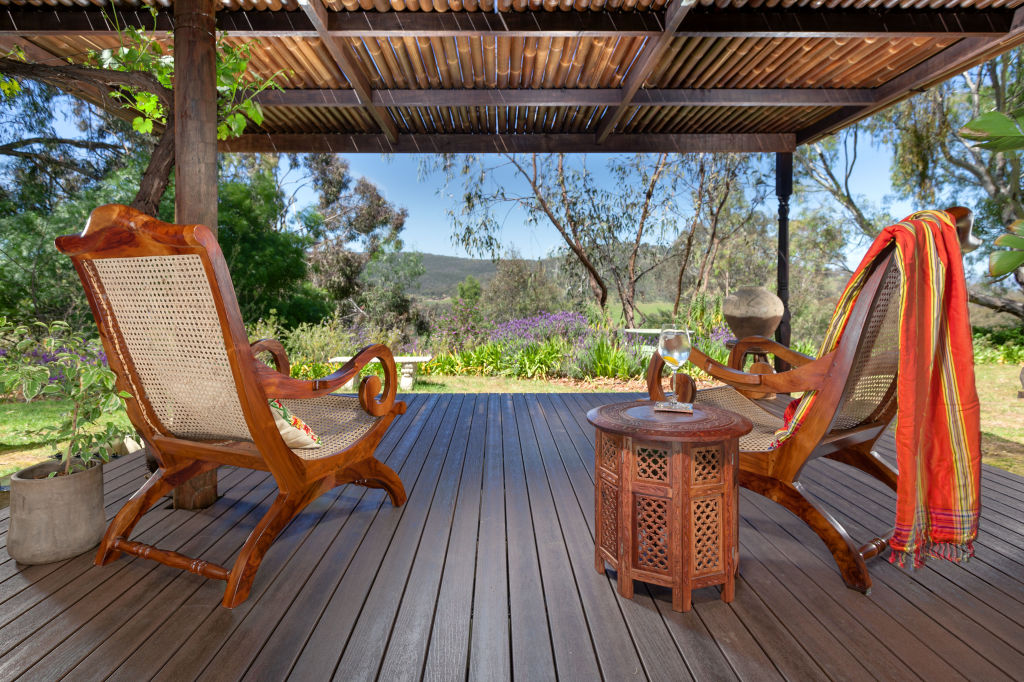
If you can’t be bothered with regular maintenance, consider installing composite decking. It is made from a blend of 95 per cent recycled timber and plastic, requires no upkeep other than occasional washing, and comes in a variety of colours and textures.
“Composite decking showcases the timeless look of timber with minimal maintenance,” Travis says. “All that’s required is soap and water.
“It’s termite resistant and will not rot, warp or splinter. It is also fade, stain, scratch and mould resistant, perfect for high foot traffic and endless summer entertaining.”
How can you tell if your deck needs refinishing?
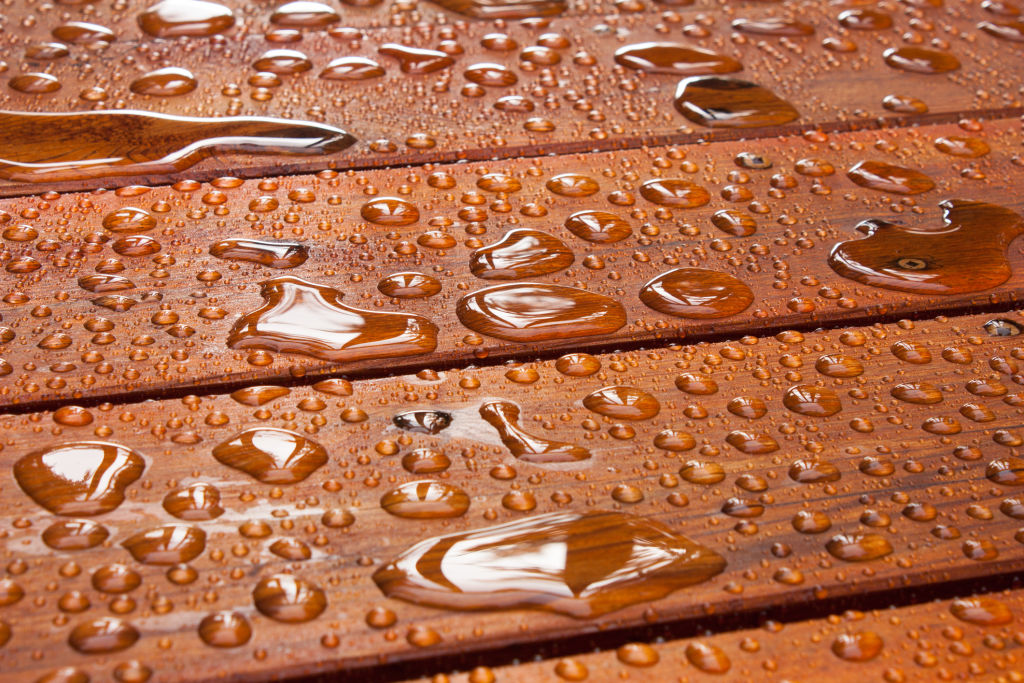
The easiest way to check whether your deck needs work is to drip some water directly onto the boards.
If the water is absorbed into the timber, it’s time to recoat it. But if the water beads on top of the boards, no work is required this season.
How to refinish decking boards
Just like when starting a painting project, preparation is the key to a great result.
For a new deck or one that has previously been stained or oiled, start by using a stiff scrubbing brush to apply a coat of a deck cleaner to remove all tannins and oils from the timber. These products remove dirt as well as any algae or moss.
Some deck cleaners can be harmful to plants, so protect nearby shrubs and trees by covering the soil around them with plastic.
Allow the deck cleaner to soak in for 15 minutes, then hose it off and allow the timber to dry for at least an hour before applying your finish.
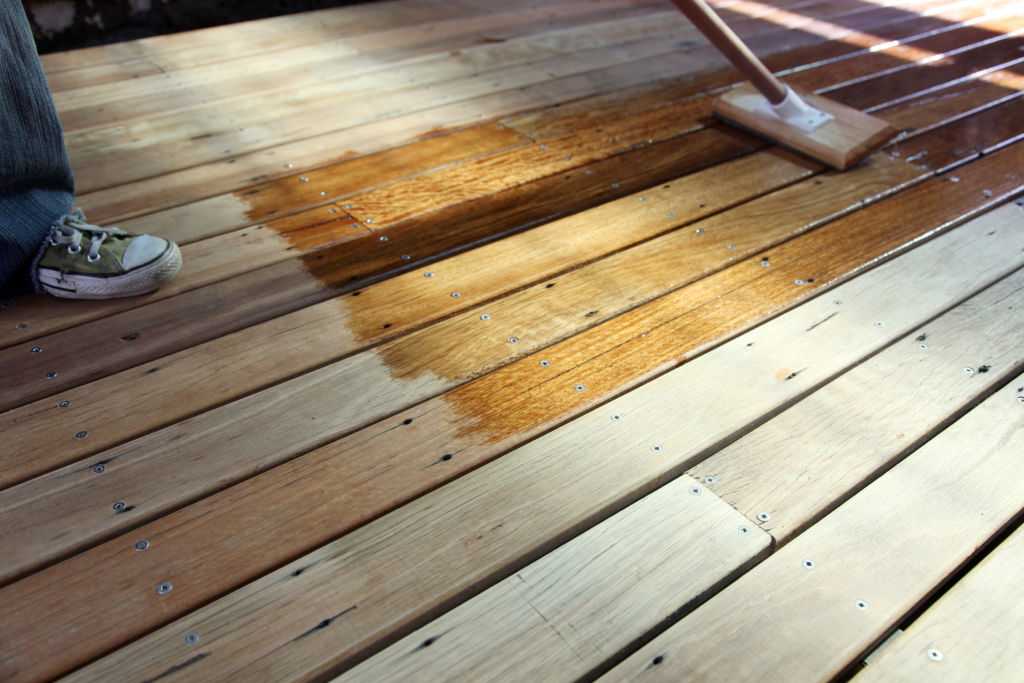
If using an oil, stir thoroughly before applying two or three coats with a lambswool applicator. Apply the finish in long strokes the full length of the board to avoid a blotchy finish. Ensure you coat the ends of the boards as they also need protection from the elements.
Stains, oils, paints and varnishes have different drying times and techniques of application, so check the manufacturer’s recommendations.
Should you choose a water or oil-based finish?
Home-owners can choose between water or oil-based finishes, and the decision often comes down to ease of use and longevity.
“Water-based decking oils allow you to recoat your deck more quickly, and typically last longer than traditional oil based decking oils,” says Cabots senior brand manager Brenna Mathews. “To wash up, you can simply clean your tools with water.
“Oil-based decking oils typically have a much longer drying time than water-based coatings. They also emit a stronger odour whilst drying. Oil-based products require mineral turpentine to wash up equipment.”
How to sand a worn or painted deck
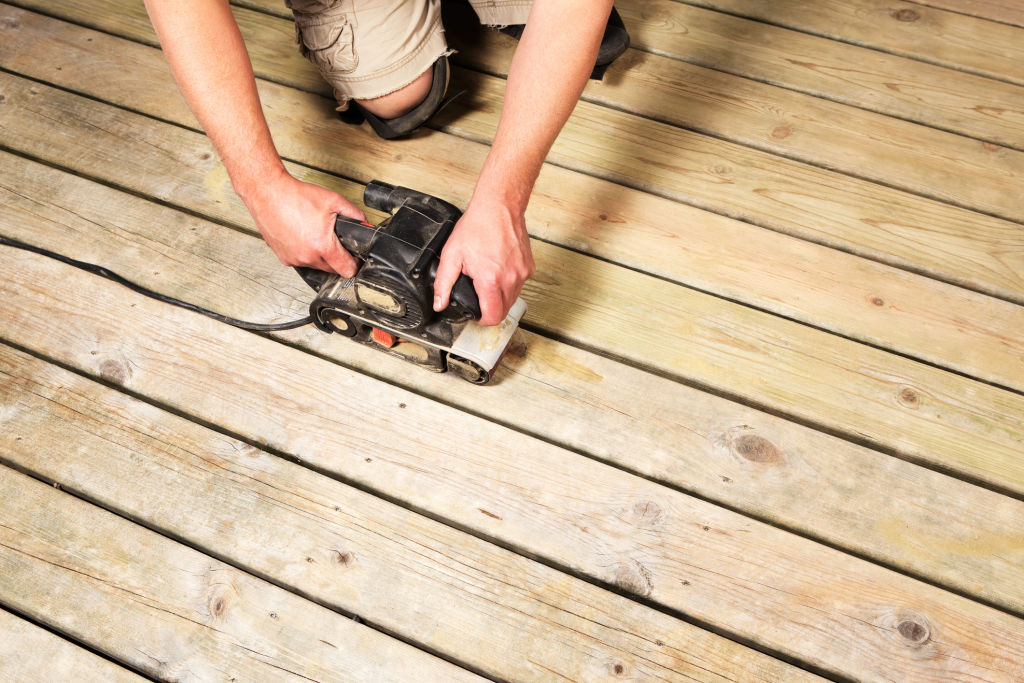
For splintered, previously painted or heavily worn decks, you may want to sand the surface back to raw timber so you can revitalise the appearance.
Start by ensuring all nails and screws are countersunk or they may rip the sandpaper while you work the deck.
Sand the surface with a belt sander and a coarse-grade belt, moving the sander back and forth with the belt running in the direction of the grain of the timber. Continue sanding with finer-grade belts to ensure a smooth finish.
For any hard to reach places or edges, use a finishing sander, starting with coarse-grade sandpaper followed by a finer grade.
Once the surface is sanded, a finish can be applied.
How to keep a deck maintained
To help extend the life of your deck finish, regularly sweep it or hose it off to ensure there is no build up of dirt and other moisture-retaining residue on the timber.
If you have pot plants on the deck, make sure they have a saucer to capture any water overflow so no stagnant water sits under the pot, because this can lead to rot.
We recommend
We thought you might like
States
Capital Cities
Capital Cities - Rentals
Popular Areas
Allhomes
More
- © 2025, CoStar Group Inc.


