First Home Fabulous: How an 'accident' saved this kitchen renovation
Watch Carly Anne Kenneally’s renovating journey in our six-part series, First Home Fabulous.
Carly Anne shares the trials and tribulations of her first-home buying and renovating experience, with a little help from her mum – interior designer and The Block Judge Shaynna Blaze.
I’ve already tackled my bedroom and bathroom makeovers, but the kitchen is where the real shake-up of the renovation happened.
I was aiming for a minor uplift while injecting much-needed personality into the space. This personality came in the form of a bold, pistachio-green fridge I’d found — classic white or chrome wasn’t going to cut it for me.
What I didn’t realise was that getting this fridge would change the design scheme of the kitchen (and the entire apartment).
Initially, I’d planned vibrant hues for the bedroom and a ’70s-inspired orange and brown for the lounge-dining-kitchen area. But would that go with the pistachio fridge? You guessed it: no way.
In a last-minute switch, I swapped the Miami pink and green colour scheme originally planned for the bedroom into the lounge, dining, and kitchen area, and I used 1970s-inspired tones in the bedroom.
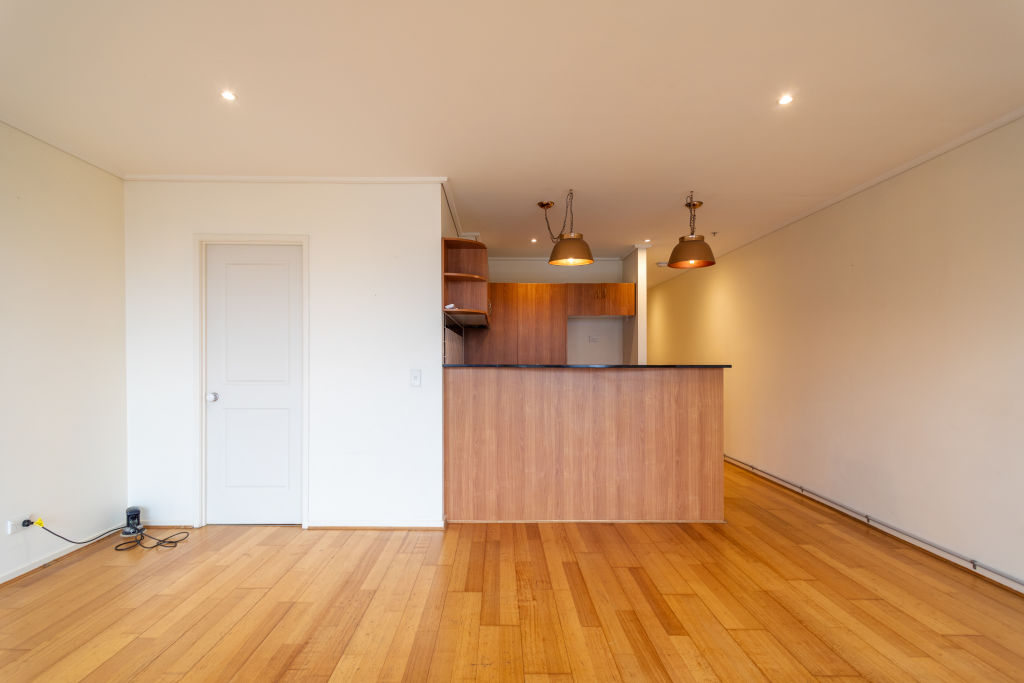
With the colour scheme sorted, it was then time to rip out the kitchen bench. The height cut off the flow of the room – a real vibe killer when entertaining in the living-dining area.
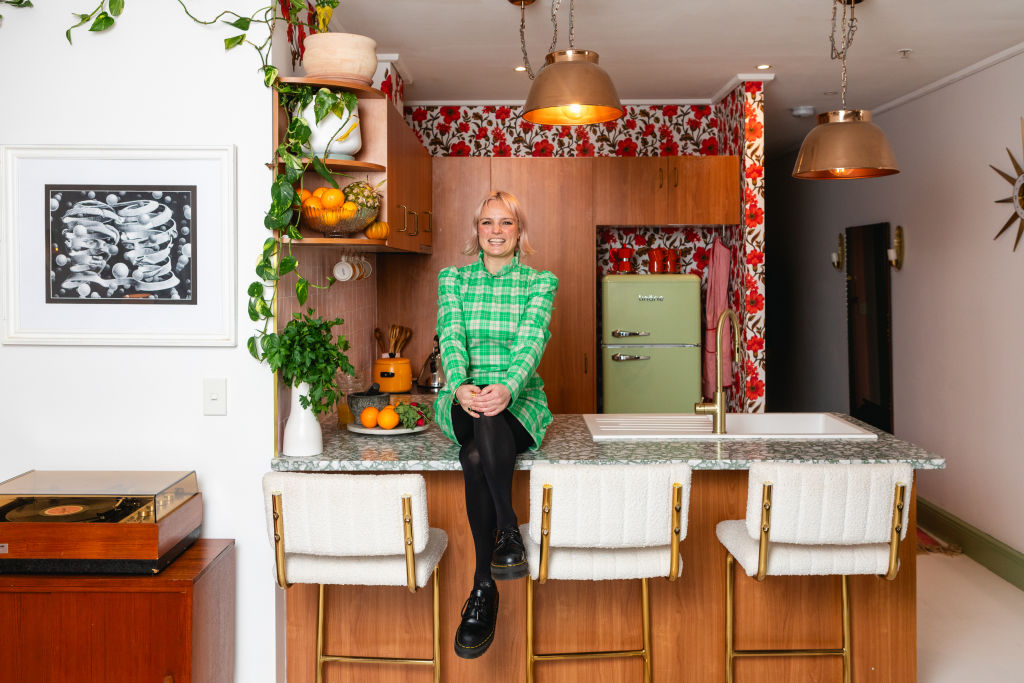
Turns out, getting a new kitchen bench isn’t as simple as picking out a slab and installing it.
The stonemason called to say the slab was 30 millimetres too short. Not wanting to eat into the 300-millimetre overhang or purchase a whole new slab, we got creative.
We “jigsawed” it around the stovetop, leaving a few seams in the process. Some folks might not love the look, but it saved me a cool $2000, so I’m not complaining.
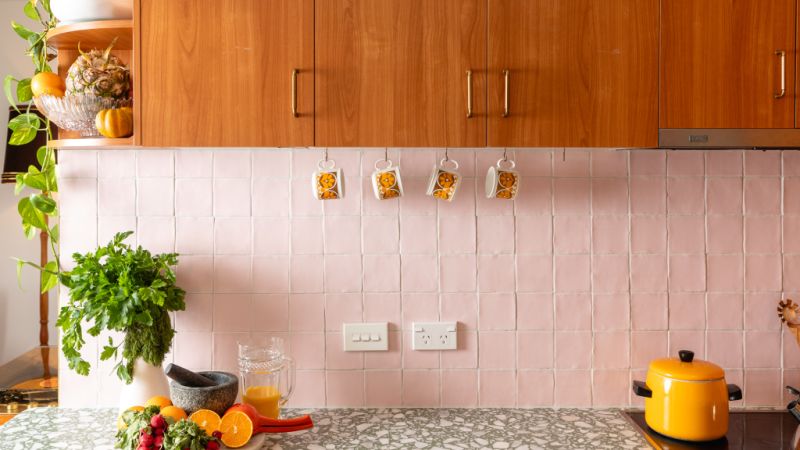
Next up: the tiled splashback. These pink tiles were a lucky find at my workplace. We have a lovely pink bathroom there, and one day it occurred to me – maybe there were leftovers.
Sure enough, I found three boxes of unused tiles. I asked my boss if I could buy them, and he kindly gave them to me (thanks, JP!).
In another budget hack, my dad and I decided to handle the tile installation ourselves. Dad took the lead on mounting them, and I tackled the grouting. Job done.
The feature wallpaper was one of my earliest purchases despite my having no idea where I would use it. It toured the apartment, auditioning for every room, before ending up under the bed for months.
One day, I was flipping through a book on colour combinations and discovered that orange looks incredible with pink and green. Suddenly, I saw the space above the kitchen cupboards in a whole new light. The wallpaper had found its home.
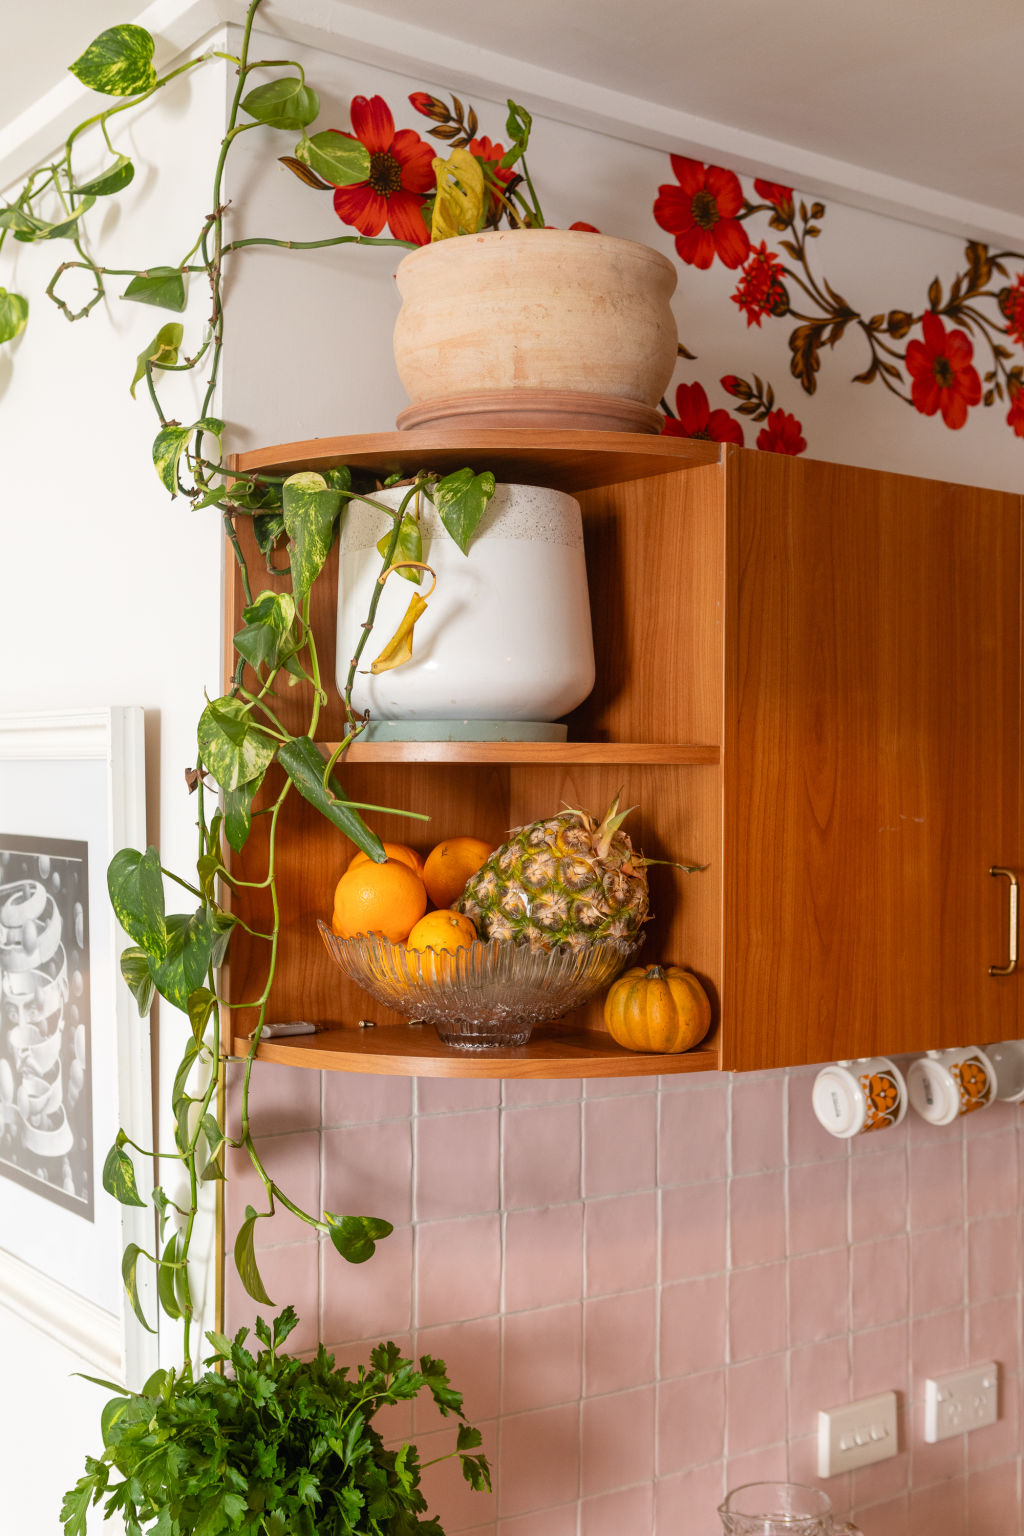
One of my best gals, Toni (who is also a wallpaper installer extraordinaire), came over on a Saturday to help me put it up. Toni warned me right away that we probably didn’t have enough paper, but we gave it a go. Avoiding the patch behind the fridge and using every trick in the book, we got to the end of the first wall and … ran out. We were 1.5 metres short!
Instead of panicking, Toni suggested we cut around the flowers and disperse them across the blank space.
The result? One of my favourite happy accidents of the entire renovation.
I was beyond thrilled with how everything came together.
Kitchen renovation tips
- Look at what already works and work with it. There is no point in ripping out things that may only need a facelift: your hip pocket and the environment will thank you. Once I went ahead with my colour scheme, I found the wood-grain laminate cupboards were perfect for the space, they just needed new handles.
- Get an expert in to check the electrics. If I had done this, I would’ve avoided my dishwasher blowing up and the fire department having to extinguish the fire that took hold in the kitchen (ruining my freshly painted floors).
- Get insurance. Health and contents insurance, because you never know when you’ll be in a sticky situation (see tip 2).
Up next in our six-part series, First Home Fabulous, Carly Anne transforms the living and dining area.
We recommend
We thought you might like
States
Capital Cities
Capital Cities - Rentals
Popular Areas
Allhomes
More

