How to make a timber house number sign
If your facade needs more character, an eye-catching house number will do just the trick.
A bold house number makes it easier for visitors to find your home, and also gives it a sense of identity.
This house number is simple and easy to make from timber offcuts, and features a little plant to give it a bit more personality. All the materials are available from a local hardware store.
We’ve used 40-centimetre long decking offcuts that were already cut to size. Depending on the type of timber you choose to use, you may need to cut it to size yourself. If you don’t have a saw, you can have each piece cut to size at the hardware store.
Tools and materials required for this project
- Cordless drill
- Circular saw or hand saw
- Drill bits
- Screws
- Metal pot
- Succulent plant
- House numerals
- Exterior stain or varnish
- Abrasive paper
- Spirit level
- Plastic wall plugs
- Screw eyes
- Screw hooks
How to make a timber house number sign
1. Assemble the frame
Cut four lengths of timber to your desired size, in this case 40 centimetres. Lay the four timber slats down on a workbench butted parallel against one another, then measure the total width of all four slats. Cut two lengths of timber to this size to use as braces.
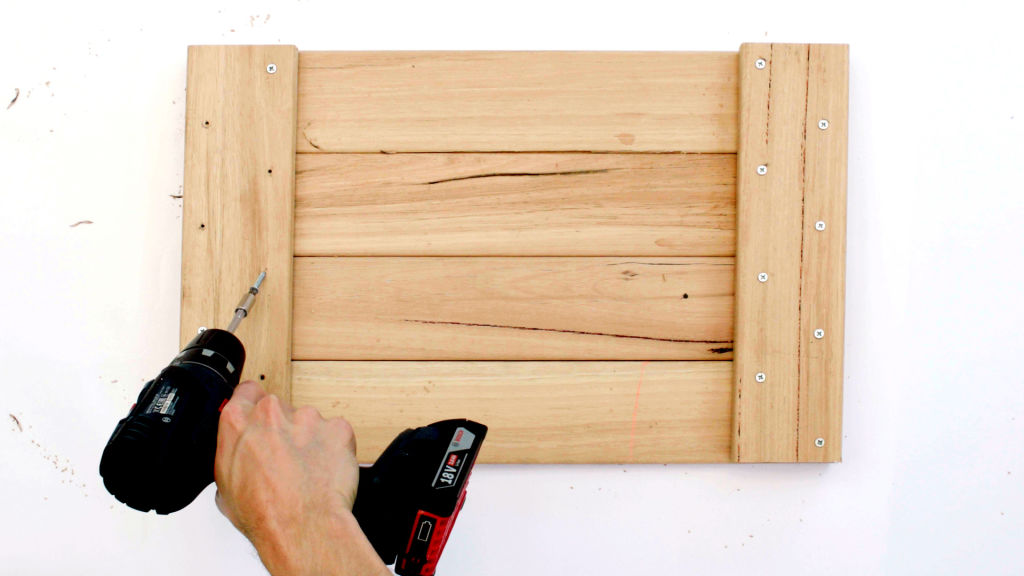
Align the slats, then position the braces on top, perpendicular to the slats. Mark and predrill holes through the back of the braces into the slats, offsetting each hole as shown. Drive in screws so the heads sit flush with the surface.
This sign will be mounted on a masonry wall, so we’re using two eye screws on the sign, and two hooks on the wall.
Drill pilot holes for the eye screws, then drive them in by hand until secure, ensuring the screw eyes are parallel with the top of the sign.
2. Finish the timber
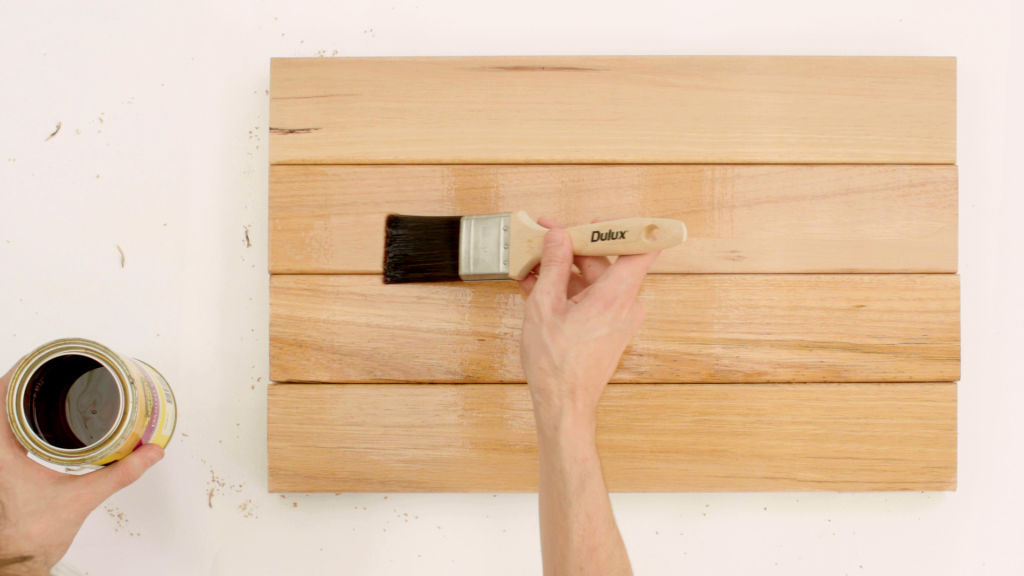
Sand the timber using abrasive paper to create a smooth surface, then wipe it down with a cloth to remove any dust. Apply a few coats of exterior stain or varnish using a paintbrush or as directed on the packaging, then allow to dry. This helps preserve and protect the timber and brings out the character in the grain.
3. Attach the numerals
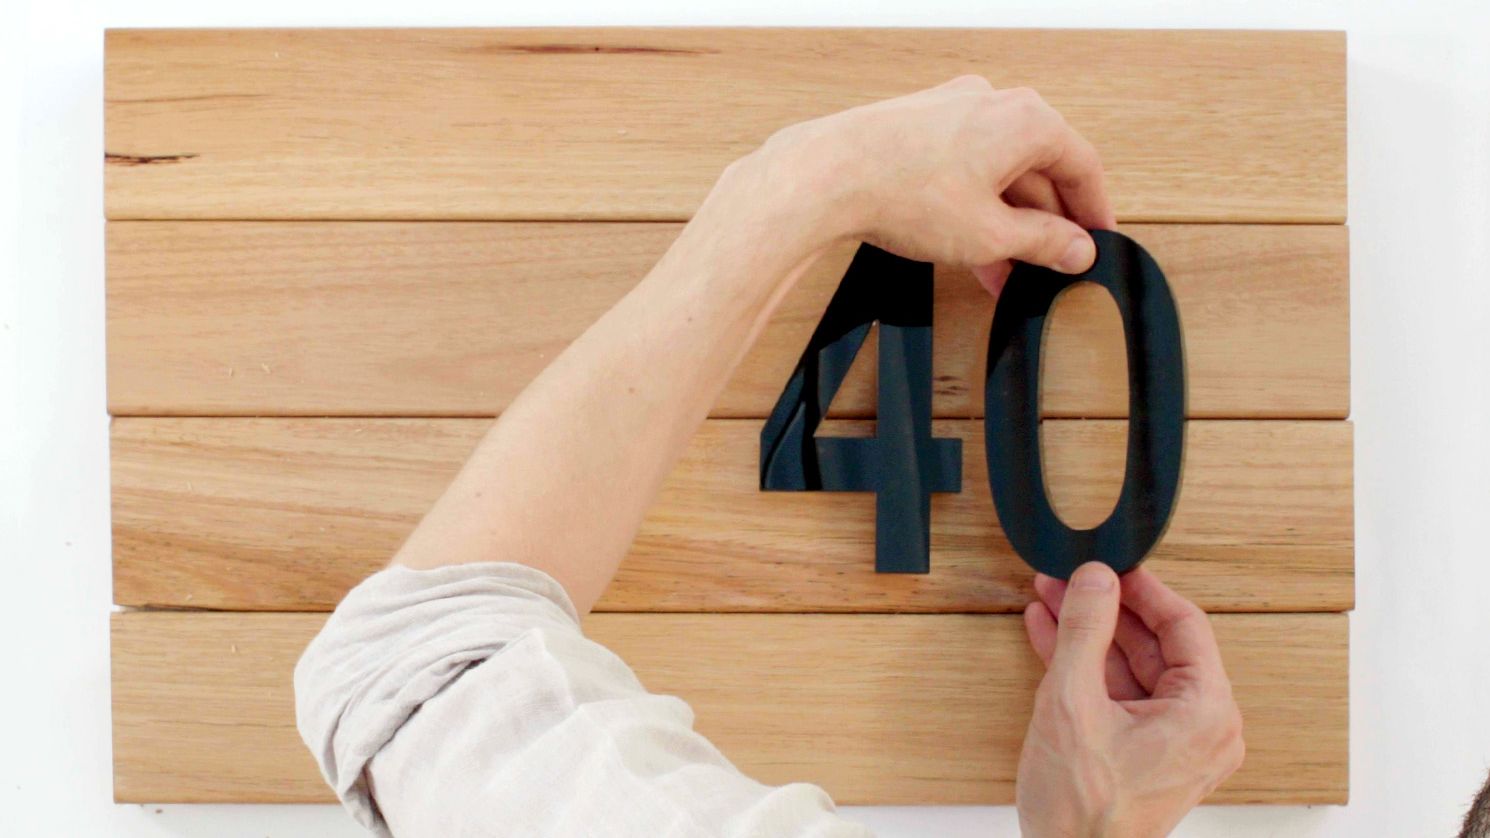
We’ve chosen large numerals in a contrasting colour to make them stand out. These numerals attach using screws, but some products are self-adhesive. Arrange the numerals however you like, then mark the location with a pencil and drill clearance holes according to the product instructions and secure with included screws.
Alternatively, if using a self-adhesive product, peel the backing from the numeral, carefully position it on the timber and press down firmly.
4. Add the plant
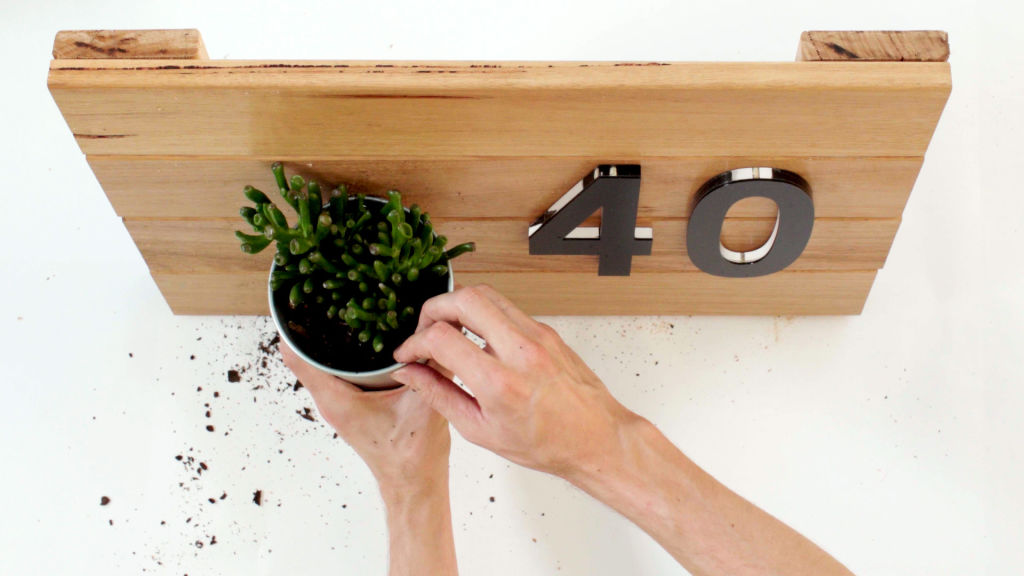
We’ve added a simple metal pot to this sign, but you can choose any suitable container you like. Position the pot on a timber offcut, then drill a hole in the side, close to the rim. Attach the pot to the sign using a screw.
We’ve planted a succulent directly into the pot and added a hole for drainage. You can also drop a plant still in its plastic nursery pot into the pot, allowing you to swap out the plant as you like.
5. Mount the sign
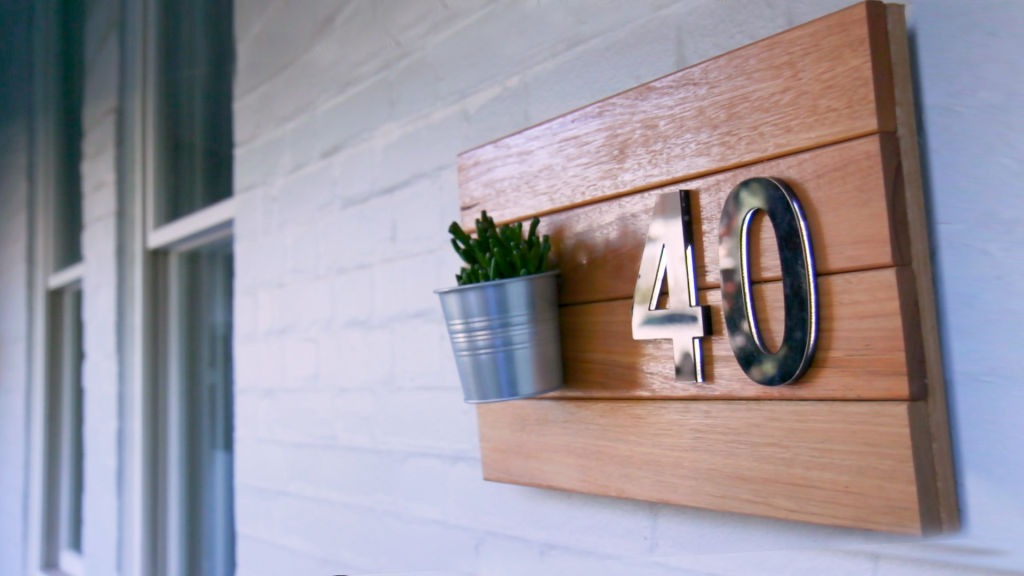
Hold the sign up against the wall and mark the position of the eye screw centres on the wall, checking the alignment with a spirit level. Use a masonry drill bit and a hammer drill to drill clearance holes for wall plugs, then tap the plugs in with a hammer, ensuring the plugs are below the surface of any render or paint. Drive the screw hooks into the wall plugs by hand, then hang the screw eyes from the wall hooks to mount the sign.
Installation and maintenance tips
The easiest way to mount the sign on a brick wall is using plastic wall plugs. These come in a variety of sizes, based on the diameter of the screw thread of the hook you’re using. Each size requires a different sized clearance hole, which will be detailed on the packaging.
Masonry drill bits are different to standard drill bits used for drilling holes in timber or metal, and can be purchased for a few dollars at a hardware store. While it’s possible to drill a hole in a brick wall with a standard drill and a masonry bit, it’s much easier and faster to use a hammer drill.
If you’re mounting the sign on a timber wall, it’s simply a case of drilling pilot holes for the screw hooks and driving them in by hand.
Succulents are generally low-maintenance, but like all plants require light and water to survive. Make sure the pot has drainage, and don’t let the roots sit in water.
We recommend
We thought you might like
States
Capital Cities
Capital Cities - Rentals
Popular Areas
Allhomes
More
