The home painting tricks used by the professionals

Anyone can slap some paint on a wall, but achieving a professional quality finish requires some careful preparation.
To help make your next DIY paint project a success, we asked the experts to share some of the tricks of the trade.
Choose a quality paintbrush
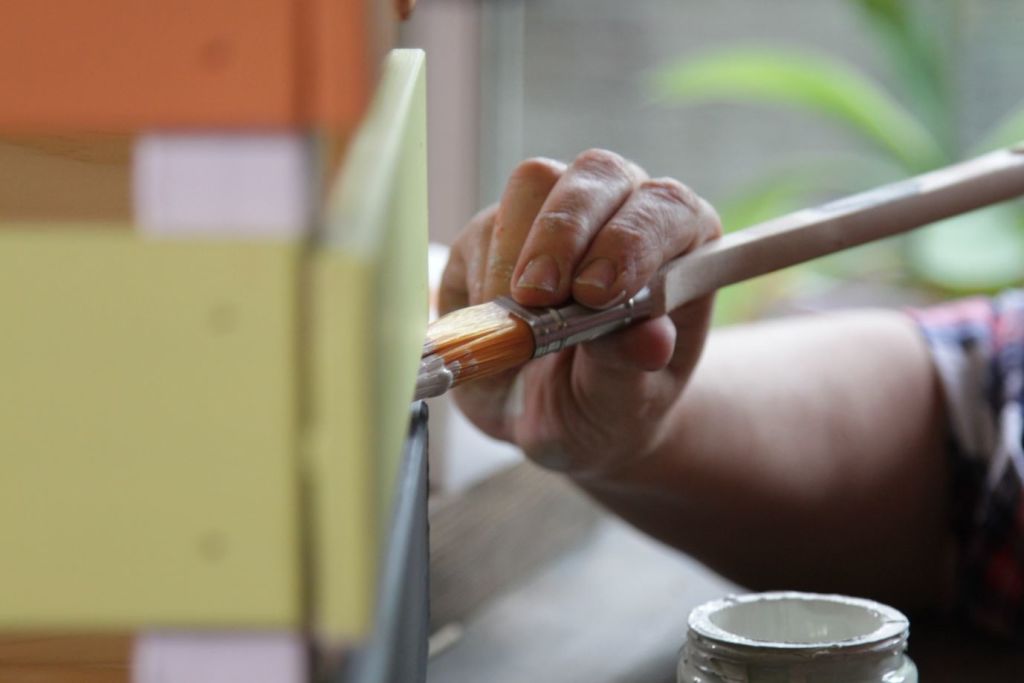
The paintbrush the neighbour used 10 years ago might get the job done, but you may not end up with the finish you’re after.
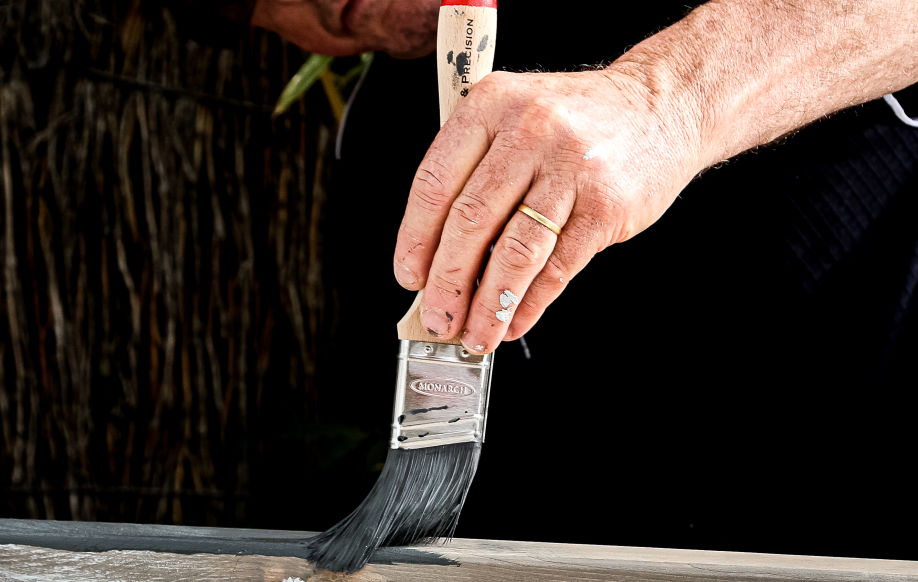
Expert painter and Monarch brand ambassador Mark O’Connor says DIYers often invest in high quality paint and then think “any brush or roller will do”.
“This defeats the purpose of using quality paint,” he says.

Cheap brushes can leave filaments on the stain and flare out, causing one stray filament to paint a line where it’s not meant to be. Quality brushes are generally softer than cheap brushes, hold more paint and won’t leave visible brush strokes.
Brush handles also come in a range of shapes and sizes. At the end of a long day painting, you’ll be thankful you chose one that is right for your hand.
Box paint for consistent colour
“No matter how hard your paint store tries, there’ll usually be a slight colour variation between paint tins,” says Sydney-based painter and director of Access by Rope Nathan McKenzie.
“There’s nothing worse than starting a new can of paint halfway through a wall and then noticing a colour variation.”
Professional painters avoid this problem by “boxing” or mixing paint. For larger projects that require multiple tins, pour all of the paint into a larger container or bucket and stir it together to keep the colour consistent.

Paint a clean surface
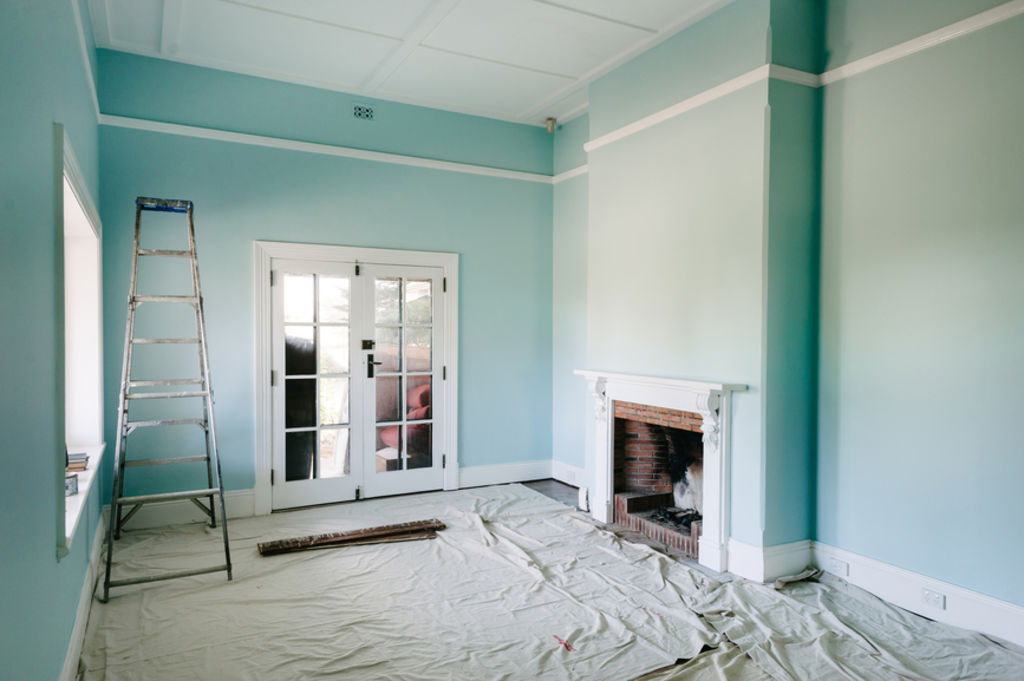
Preparation is key to a perfect finish. Take the time to sand and wash the surface properly before picking up a brush.
“Wash the walls, pressure clean them if they’re external. Clean greasy walls with degreaser and wash your rollers before use to remove any loose fibres. Prime over any patching you’ve done to prevent flashing [a dull spot in the wall where the sheen is visibly different],” says McKenzie.
Check for lead
Before 1970, many houses were painted with lead-based paint, which can pose a health risk when disturbed.
Avril Southon from Women at Work Painters in Melbourne says, “We get a lot of calls about lead paint. People panic like you wouldn’t believe.
“When sanding an old weatherboard house, we use an electric sander into a dust extractor. It stops all the dust going everywhere.”
Before starting work, buy a lead test kit, especially if the house is older. If you find traces of lead, it’s probably best to call in the professionals.

Use a wet brush and roller
“A wet brush will work better,” says O’Connor.
This is because a dry brush or roller won’t absorb or apply the paint on a surface as well as a moist one. Before you use your paintbrush, soak it in three centimetres of water for 15 minutes, then remove the water by shaking it out.
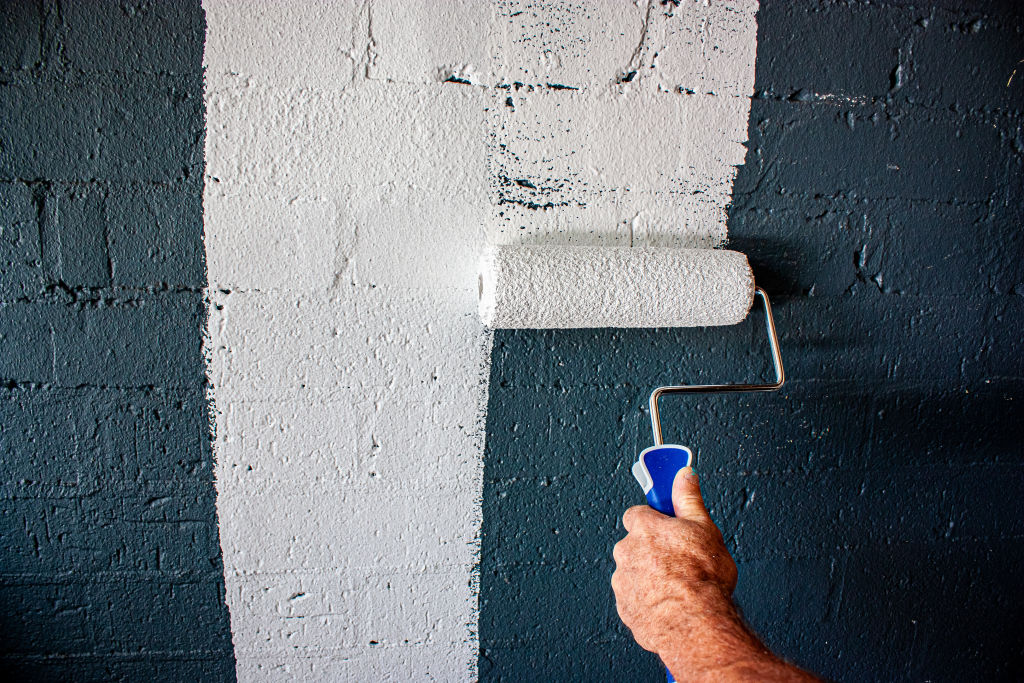
A dry roller takes 15 minutes to start working properly, so it’s best to wet it before use too. Moisten it underwater for two minutes, then squeeze out most of the water.
Slide the roller onto the roller frame and roll it on the wall for 10 rolls, with a towel on the ground to collect the excess water. Then dry the wall with the towel. Use turpentine instead and follow the same steps if the paint is oil-based.
Preparation is key when it comes to painting. Before you pick up a brush, take the time to prepare the surface, paint and applicators properly and invest in a good quality roller and brush for a professional result.
We recommend
States
Capital Cities
Capital Cities - Rentals
Popular Areas
Allhomes
More


