Get the look: Top tips to up your interior Instagram game
So you’ve finished your renovation and you’ve just found the perfect vintage vase to compliment the cute (and on-trend) drinks trolley you found.
Your decor is en pointe, and now it’s time to show off your interior design skills to the world. The number one place to do that of course is Instagram, where influencers and taste makers are born.
But how do you make your images look as seamless and on trend as your favourite decor bloggers?
From the outside, Instagram is easy – just take some snaps, post some snaps and wait for the followers to come rolling in. But with an endless list of hacks and whole blogs devoted to “maximising your Insta game” and “building your brand”, the reality is something else all together. When all you really want to do is share a few pretty pics of your home with like-minded decor-philes, it can seem a little much.
But there’s no denying how pretty a carefully curated Insta account can look.
The more uniform and curated your Insta is, the more professional it looks, says Mooch Style’s Shayden Whipps. That’s achieved with careful image choice and editing, to make the most of your images.
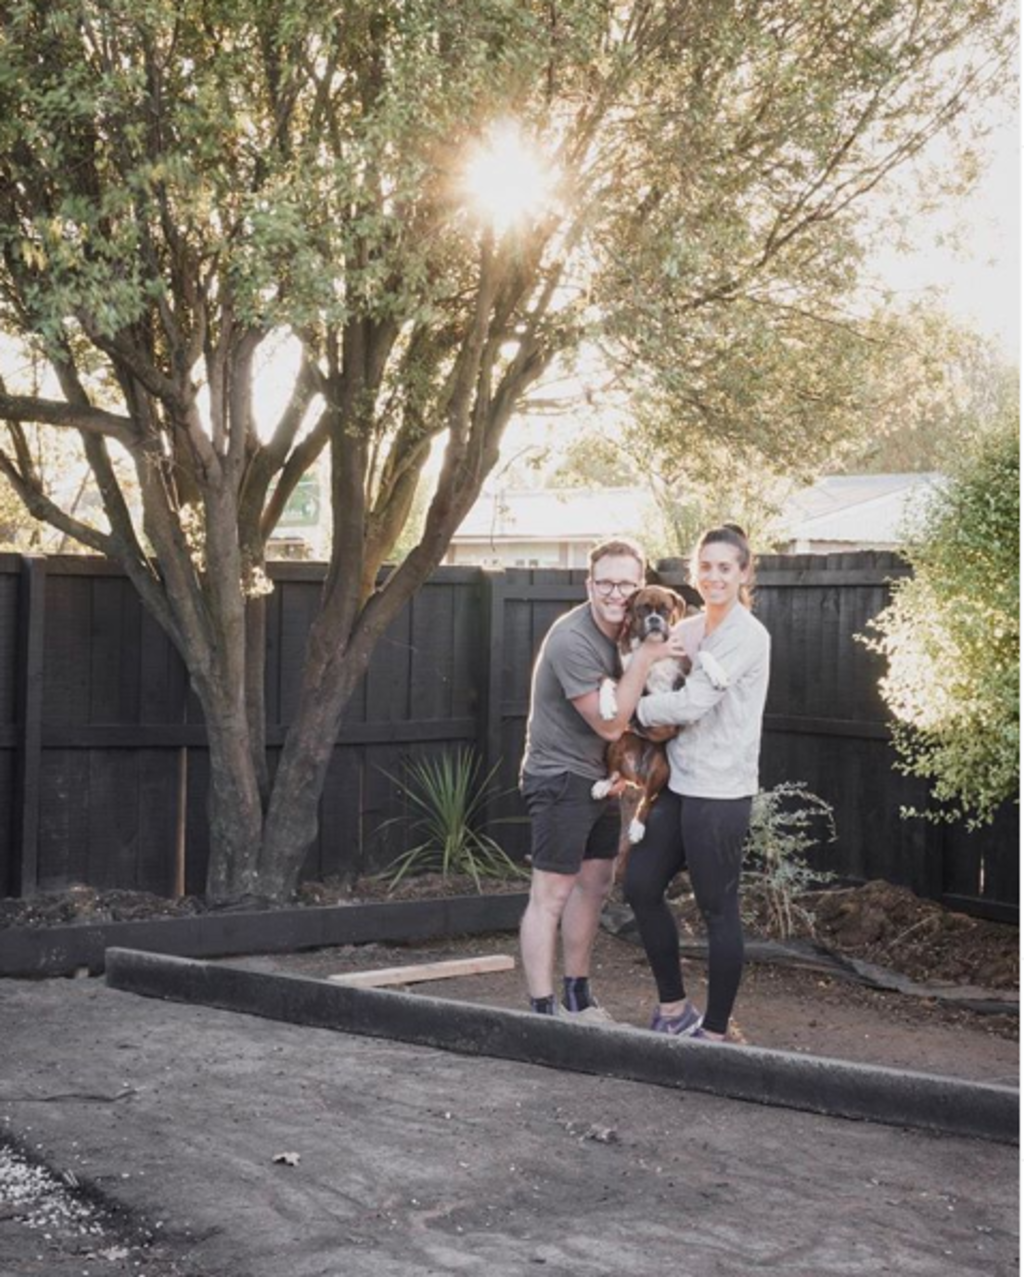
He and partner Georgia have been blogging their DIY, smart shopping and styling tips for the past four years. Whipps, a photographer, spends a lot of time crafting their look on Instagram.
The result is a considered, uniform-looking Insta choc-a-block of images people really want popping up when they scroll through their feed. It fills me with Insta envy. My feed still looks like I pulled a bunch of polaroids out of a box in my attic and threw them at the internet.
So what am I doing wrong?
Apparently, it’s all in the editing. There are a plethora of apps to help you edit images, but a big trend at the moment is to purchase presets, pre-designed filters and editing tools that work with the mobile editing app Lightroom.
“A lot of people ask us, ‘how do you keep that feed looking so consistent?’,” says Whipps. “Like on Georgia’s private account it’s got a different look and feel and so does my account, and that’s because I’ve created different presets.”
There are a huge number of influencers, travel bloggers and designers offering preset files for sale, in a range of prices. Whatever “vibe” you want for your Instagram feed, you can find a preset on offer.
Just google “presets” and see. Prices vary as much as moods, colours, themes and tones. Some presets by “professional” Instagrammers can cost as much as $100. Some preset creators, like Legrisa in the US, will make a custom set for you at quite reasonable prices.
Mooch Style sells two sets: a Gram Game set, with a gold filter, the wash preset with a pink tone, and a food filter that’s good for “flat lays” of dishes in a restaurant.
The other is a Interiors set, with a bright, moody or indoors preset, that takes the yellow out of whites to give your image that crisp, bright feel that’s so popular on Instagram.
“I’ve been using Instagram for about four years, but I’m also a hobby photographer. So we photograph our lifestyle and our home, basically, and we put it across blogs, Facebook, Instagram and it’s the process is really easy once you have a preset basic.”
But not everyone is in love with the preset idea. The Atlantic called presets “the new Instagram gold mine”, but pointed out that when lots of people start using the same presets, the images all start looking very samey.
Travel influencer Victoria Yore told The Atlantic buying presets was a case of “buyer beware”.
“There are a lot of not-so-great presets out there. The person who shares a before and after may have also done a lot of editing on their photo.”
Whipps says most folks don’t have the time to devote to learning all the tricks and traps of editing apps. Sometimes, we just want the pretty shortcut, at least at first. Also, the Mooch style preset has the benefit of being “fine tuned” to the local light conditions.
“I’ve actually made this for amateurs,” says Whipps.
“Just run of the mill Instagramers who like to edit their photos and make them look consistent across their feed.
“I thought If I just created a preset that would knock that yellow out or created a white wash filter to fade the shadows, then even if your photos are slightly different it still keeps that consistency.”
Mooch Style tips for shooting interiors
1. Always shoot with natural light
“I never have the lights on in our photos because it cast shadows and it casts yellows.”
2. Wipe and wipe again
“If you’re shooting on an iPhone … you really need to wipe your lens before you shoot.”
3. Line it up
“You need to shoot a straight line. You shouldn’t shoot on random angles. So if you have a corner, make sure that that corner is straight and not on an angle. Usually that photo will turn out 100 per cent better than it would have if it was on an angle.”
4. Go thirds
“You don’t need a pro camera to take a good photo as long as you’ve worked out that rule of thirds. So, say you’ve got a large object, you don’t just put it randomly off centre, you either put it on the left, in the middle or on the right and that way it looks a lot cleaner.”
5. Pick your preset
“At the end, once you have that photo you want to apply a preset with, at the tap of a button it’ll do the rest of the edit for you. Then you can tweak it slightly from there: your highlights or your colours or your angle.”
- This article originally appeared on stuff.co.nz
We recommend
We thought you might like
States
Capital Cities
Capital Cities - Rentals
Popular Areas
Allhomes
More
- © 2025, CoStar Group Inc.

