How to prepare your soil to get the best out of your garden this spring
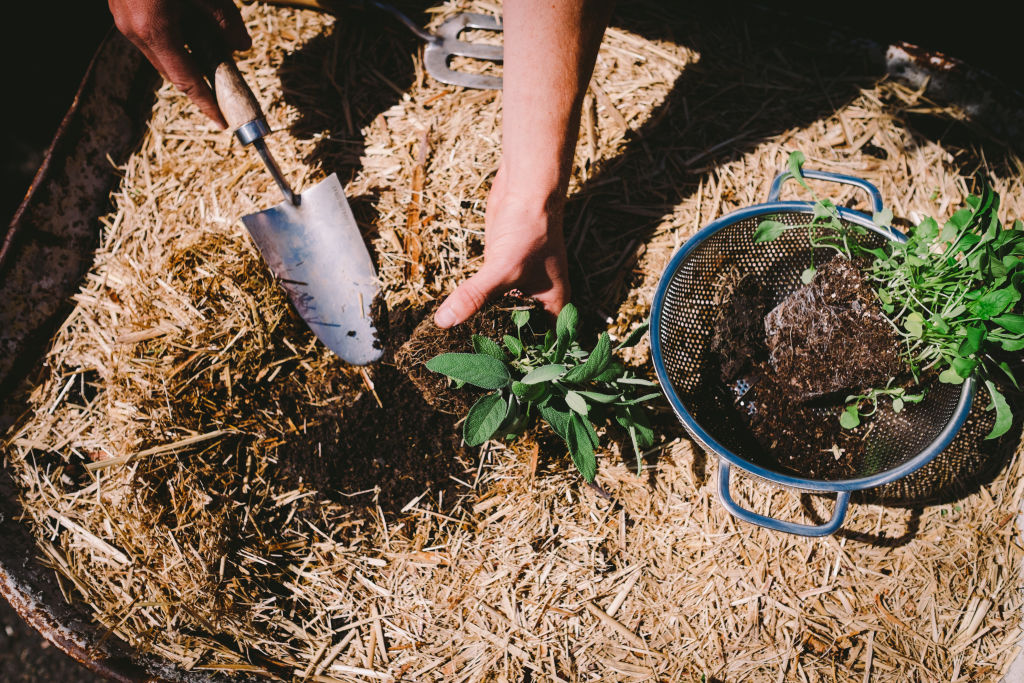
We all grew up playing with soil and, as gardeners, we still do.
As our appreciation and knowledge of soil improves, so too does the quality of our homegrown produce and, consequently, our own health.
Nutrient-rich and organically grown food is a reflection of the grower’s passion and patience for creating and maintaining a biodiverse soil in which their plants thrive.
Spring is time to take a look at your garden and replenish beds, pots and planters with a number of soil conditioners and a little extra mulch.

On my next free weekend, I’ll be taking a look at my own garden’s soil health and checking off the following activities.
Pots
If you’re building up your pots from scratch, first cover the drainage holes with small pieces of flyscreen – this will allow adequate drainage without losing too much soil each time you water. Then, place some plastic packing shims under the pot edges to lift it off the surface for improved drainage, and fill with a premium potting mix (remember, you get what you pay for), packing down gently as you go.
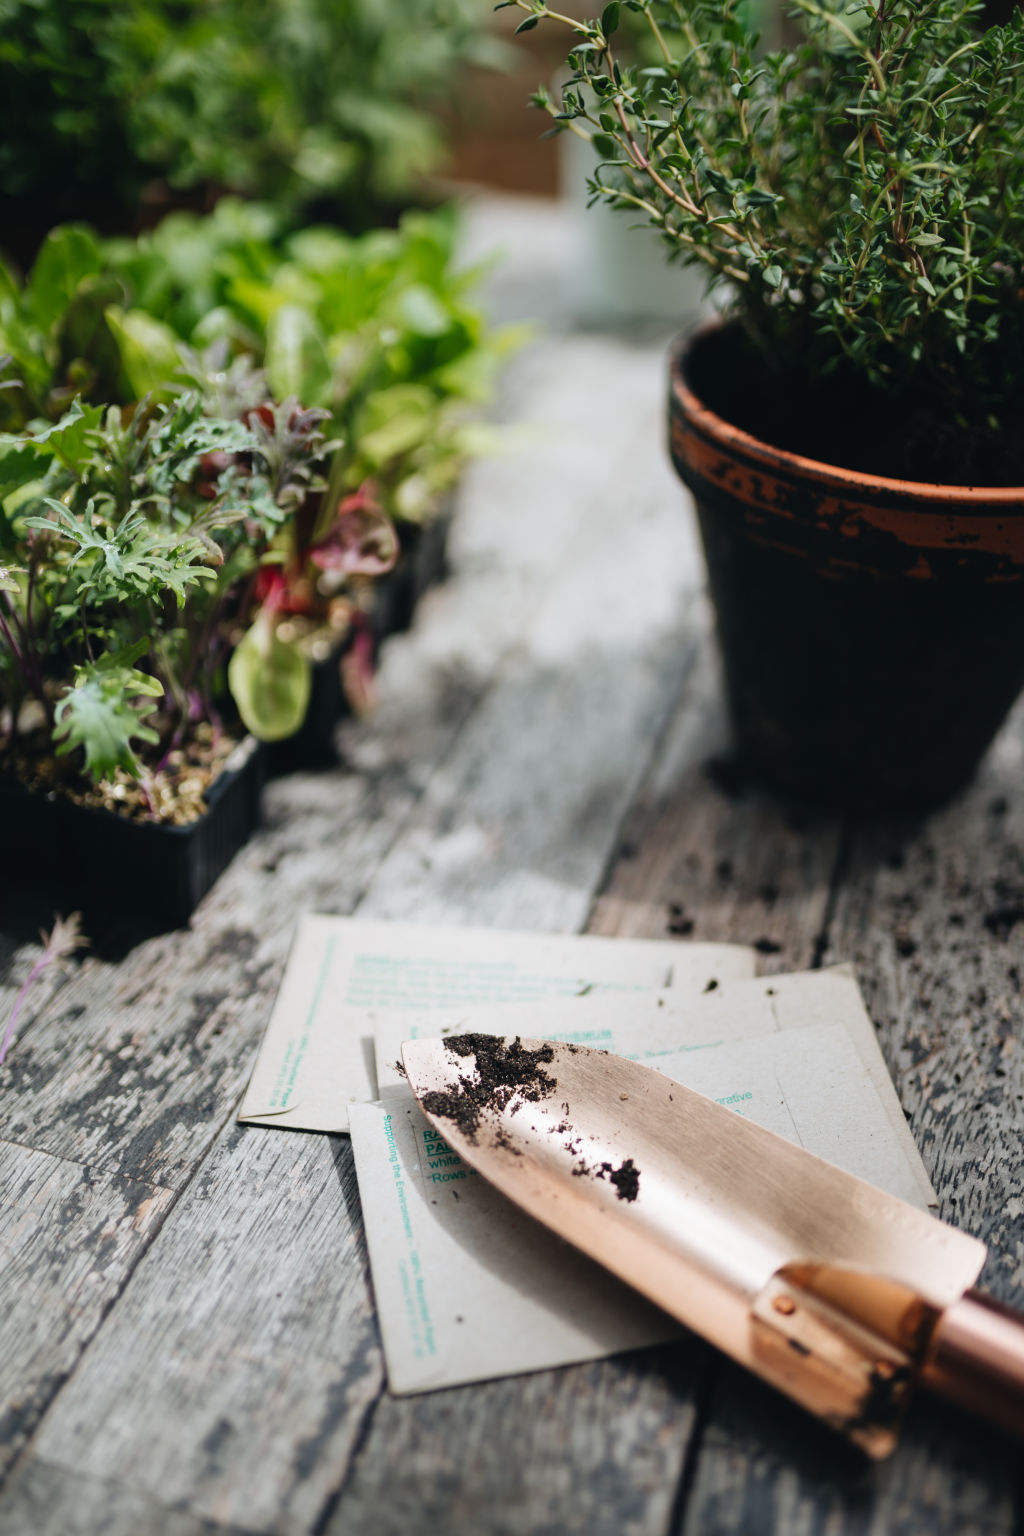
If you’re just doing a spring top-up of your pots, start by aerating the existing soil and, if need be, scooping some out to make way for more improved soil. Then, top up your pots with premium potting mix or add compost or worm castings for extra beneficial bacteria, microbes and fungi – living soil organisms are what makes a soil “liveable” for your plants.
Then apply a suitable fertiliser for your plants if this hasn’t been done in the past six months or so. Now is also a great time to repot any plants that are outgrowing their pot size. Remove your plant and old mix, trim away any spiralling roots, replant and water in well with a seaweed solution.
Planter boxes
If you’re building up your planters from scratch, start by preparing your drainage holes (as above, with flyscreen) and fill with garden soil at depths below 4 centimetres. Then the remaining centimetres to the top can be a premium potting mix or planter box mix. Sprinkle homemade compost on top, if you have it, and a light mulch to prevent the sun baking the surface potting mix, making it water repellent over time.
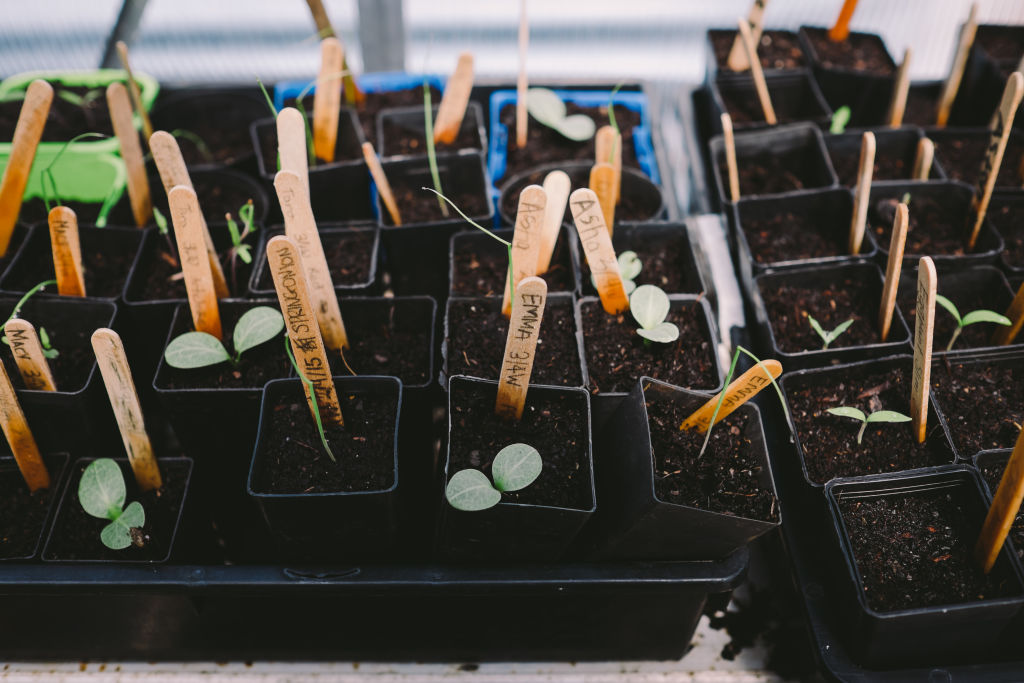
If you’re doing a spring top-up of your planters, be sure to keep the levels to about two centimetres from the top. You can add compost and turn it in, or simply add new potting mix and some fertiliser to the top. I use a long screwdriver to aerate my planters, as this allows the roots to transpire and more water to penetrate deeper down. Sometimes all they need is a bit of fresh air.
In the ground
If you’re installing or building your garden beds from scratch, position is your most important factor. An edible garden in full sun is ideal, or in a position that gets at least six hours of sun per day.
This can be a stretch in urban areas so do your best to prioritise the garden site if an abundance of food is what you’re after. A raised bed makes sense for access and also for bringing new, clean soil in.
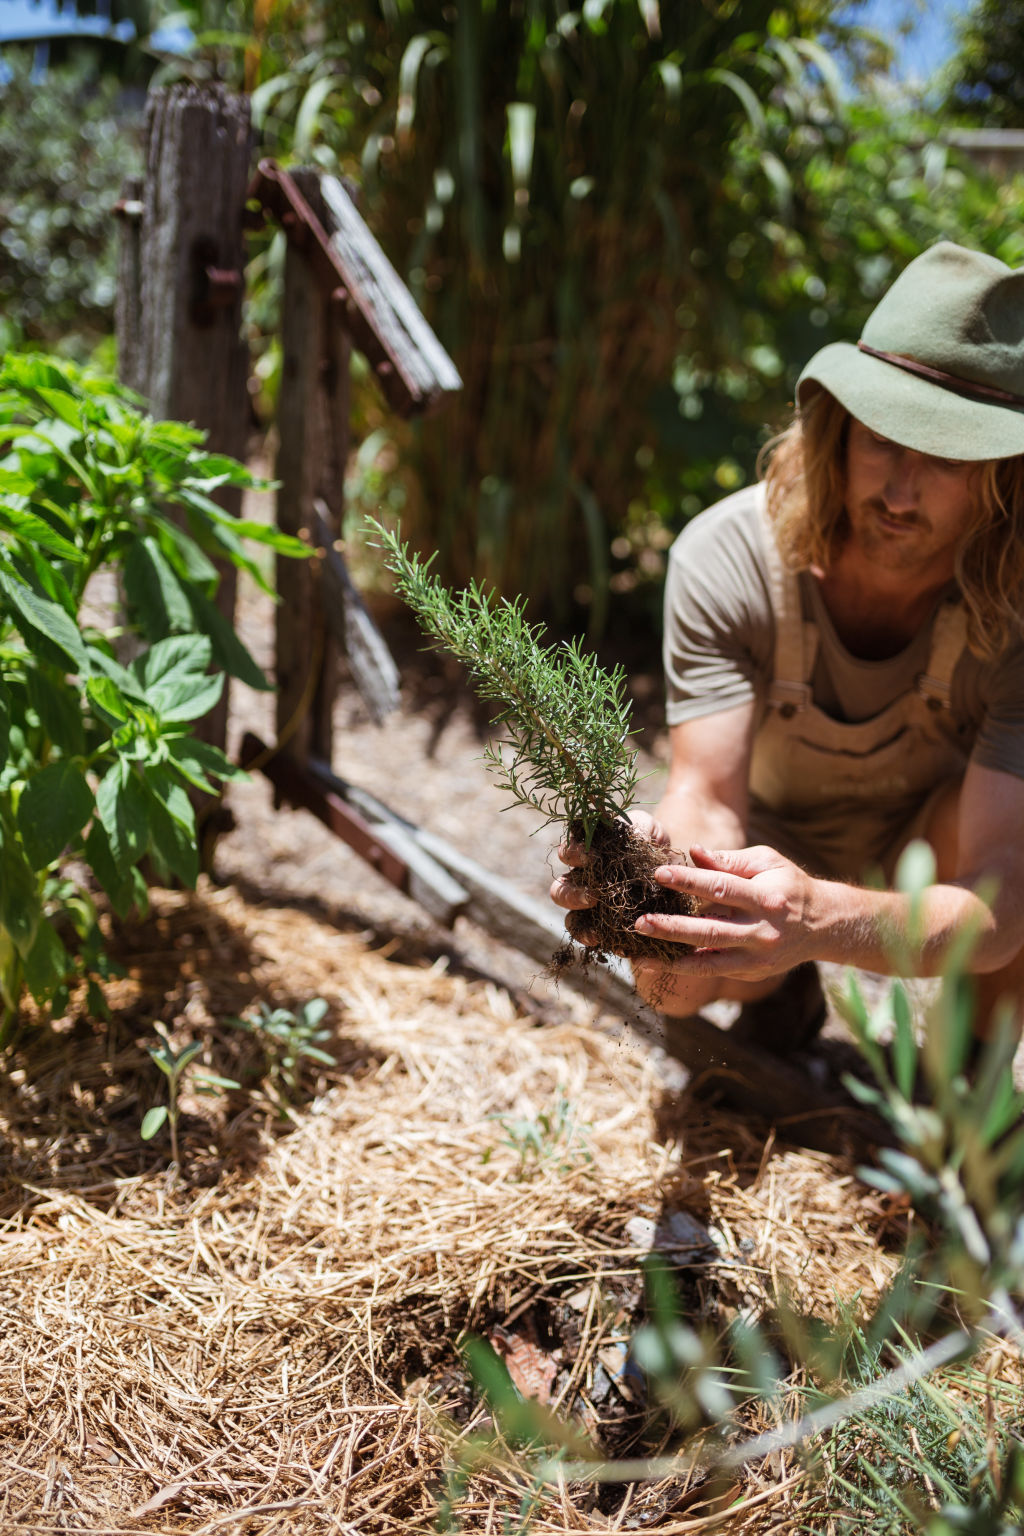
Between 3 and 6 centimetres high is great for your edibles. If you’ve cut out a patch of turf, you may have clay, sand or a loamy soil underfoot, but don’t stress, this can be improved by adding organic matter (compost, manure, worm castings, light mulch) and correcting any pH levels to allow for improved nutrient uptake.
If you’re simply doing a spring top-up of your beds, check the pH of your soil, add organic matter as above, and top with about 2 centimetres of sugar cane mulch.
Buying
Nurseries and landscape yards will sell bagged products and do bulk deliveries for larger projects. I’ve found that bulk soils and composts are highly variable, so I usually finish the top 2 centimetres with premium bagged products or homemade goodness.
From my experience it will take a couple of years of mixing your own compost, worm juice or seaweed solution to any bought soil before it builds its own ecosystem that plants will really thrive in.
Slow Down and Grow Something: The Urban Grower’s Recipe for the Good Life, by Byron Smith with Tess Robinson, Murdoch Books.
We recommend
We thought you might like
States
Capital Cities
Capital Cities - Rentals
Popular Areas
Allhomes
More
