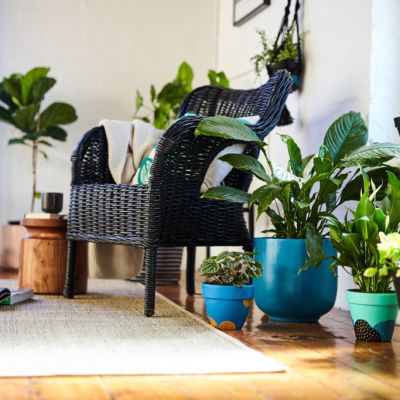
These are the easiest herbs to grow at home

When you’re planting your first patch of herbs, it’s important to get a few quick wins under your belt.
I recommend starting your gardening career with easy-to-grow, make-you-look-like-a-pro herbs.
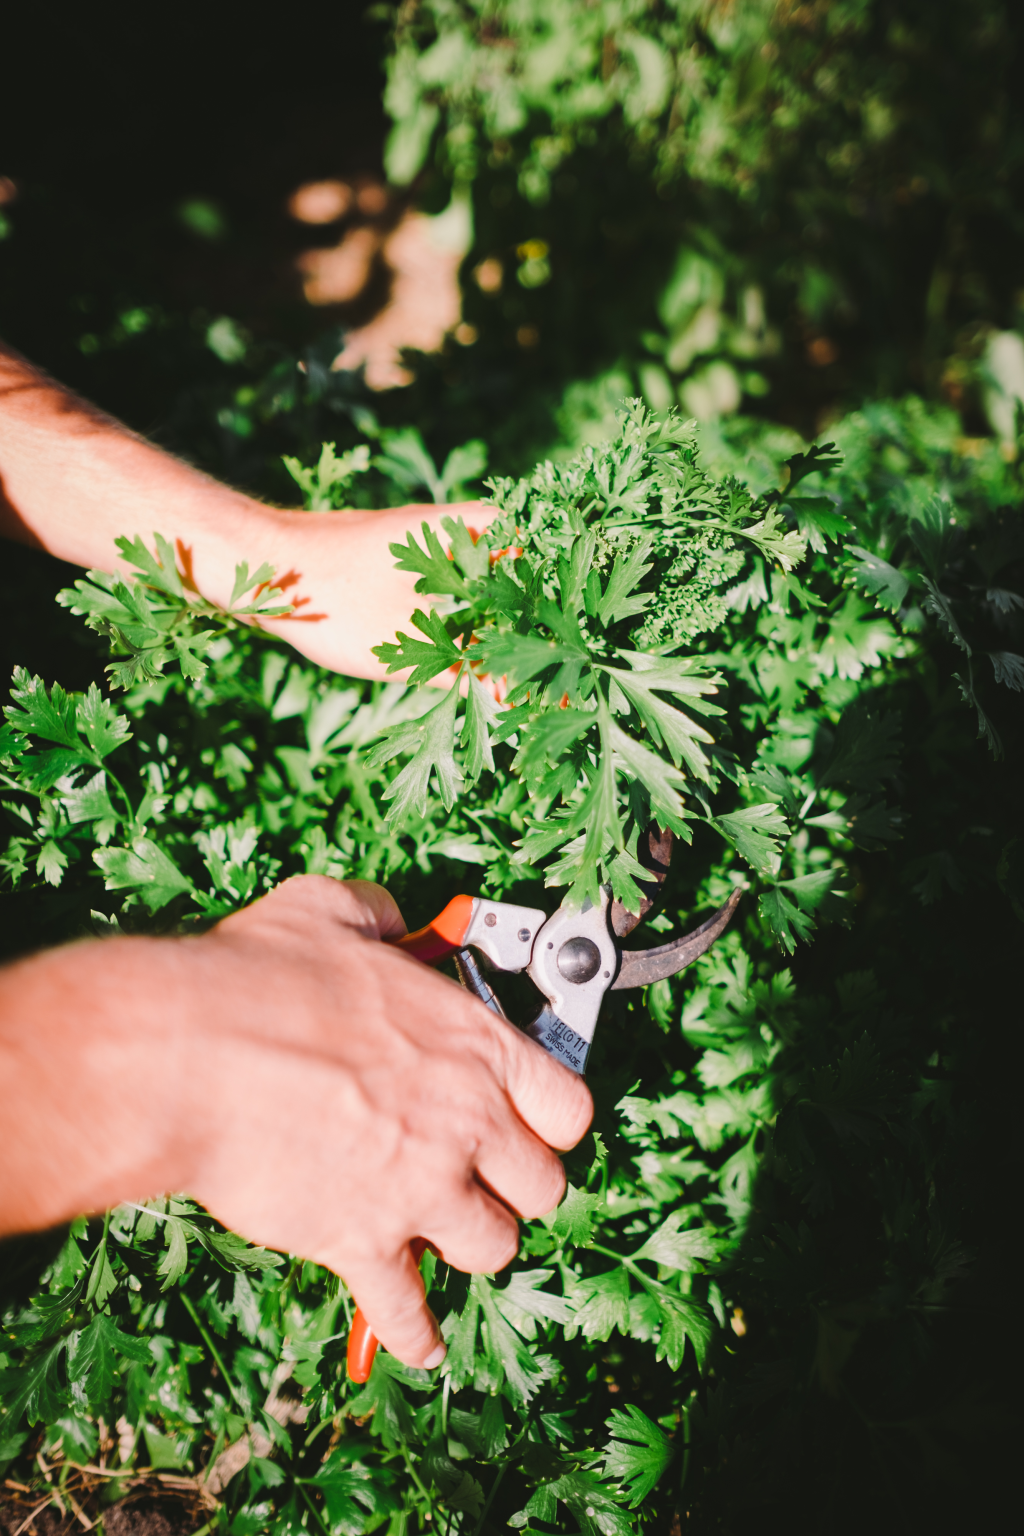
Basil, parsley, coriander, dill
These “soft” herbs need more water than their “hardier” Mediterranean friends. They love liquid fertiliser fortnightly and prefer to be protected from the wind.
Grow basil or parsley from a single seedling or scatter a few coriander or dill seeds covered with five millimetres of soil. If they’re in full-sun positions, water daily.
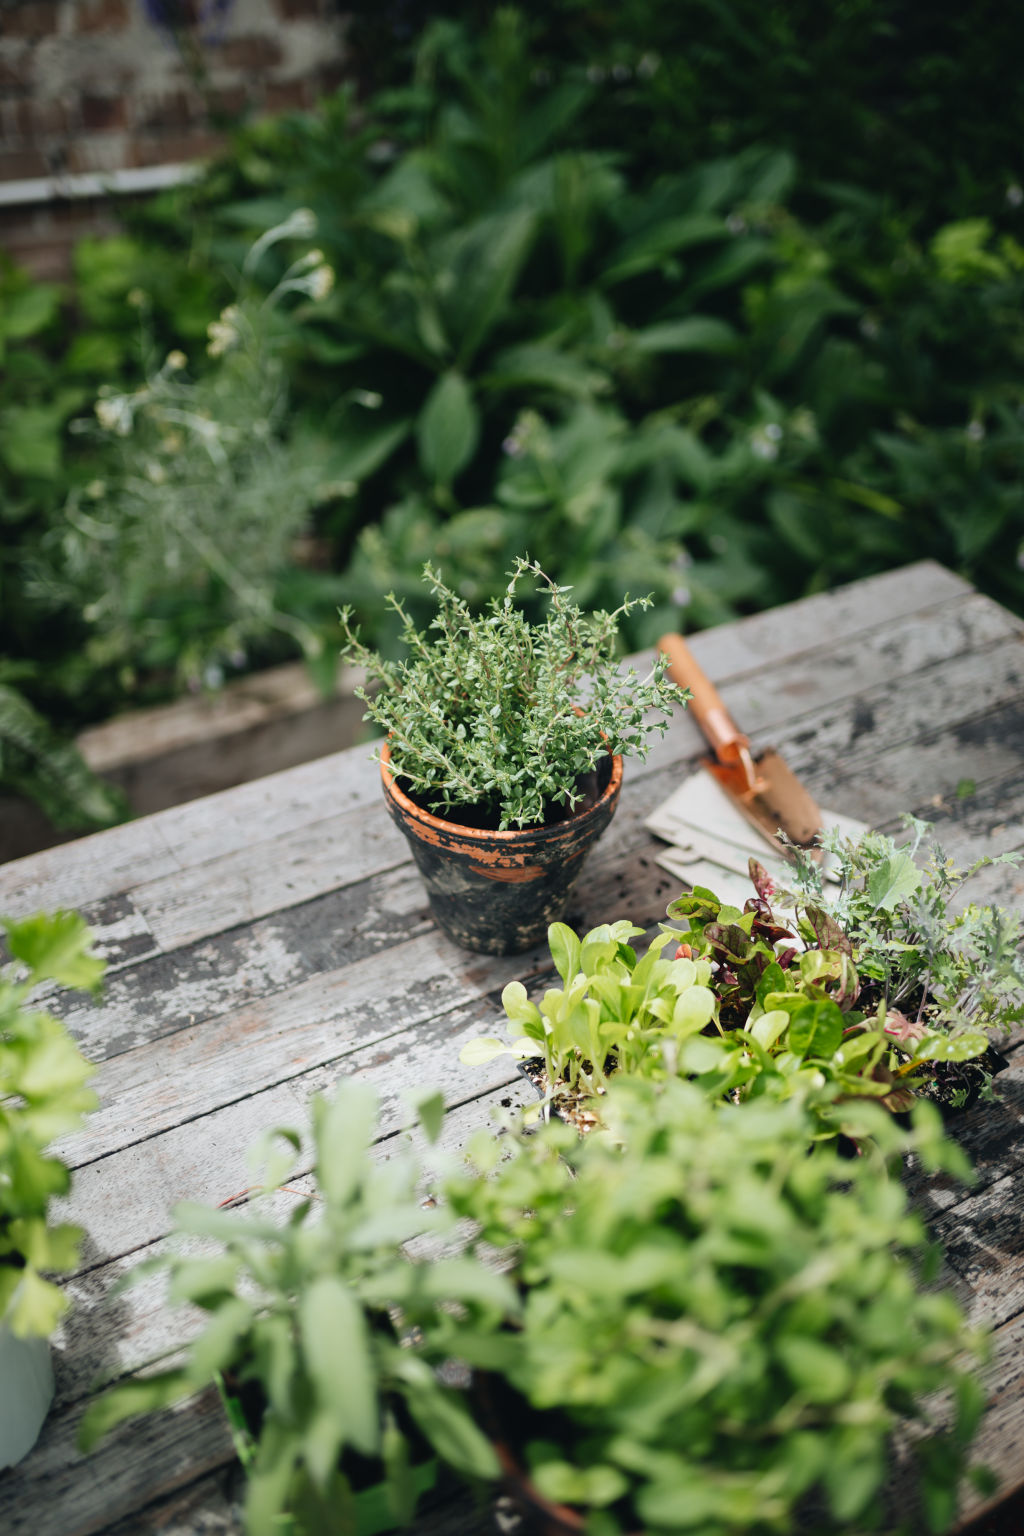
Thyme, rosemary, bay leaf, sage
I never water these “hard” Mediterranean guys if they’re in the ground, but if they’re in pots (with good drainage and no saucers), I’d give them a drink once a week or so –these herbs can take a bit of wind, salt and full sun.
They’re best bought as small plants rather than seeds or seedlings. I saw rosemary growing out of a crack in limestone on a sunny mountain side in Italy recently, I cut some off and put it with dinner. Thinking about a plant’s natural landscape helps you provide similar conditions.
Rocket, lemon sorrel, red-veined sorrel
These leafy herbs can be grown in less sun and watered a few times a week. Pick the leaves as needed and use a fortnightly organic liquid fertiliser to promote fresh new growth that’s a bit softer for eating.
Turmeric, ginger, galangal, lemongrass
Try organic turmeric, ginger or galangal rhizomes (the root) from your local market and plant 100 millimetres into soil.
They can all grow to about a metre, so I tend to use them aesthetically until it’s winter when I dig up the rhizomes to eat, dividing and leaving enough to grow back in spring.
Your rhizomes will lay dormant in winter, and will prefer a sheltered, sunny position with a few good waters a week in the warmer months.
Common mint, spearmint, peppermint
You have many options with the mint cultivars, but these are my favourites.
They can take lots of water in summer, which prevents them from going woody, and will take over a garden if not kept in a pot. Liquid feed fortnightly and use some organic Dipel spray if you find caterpillars.
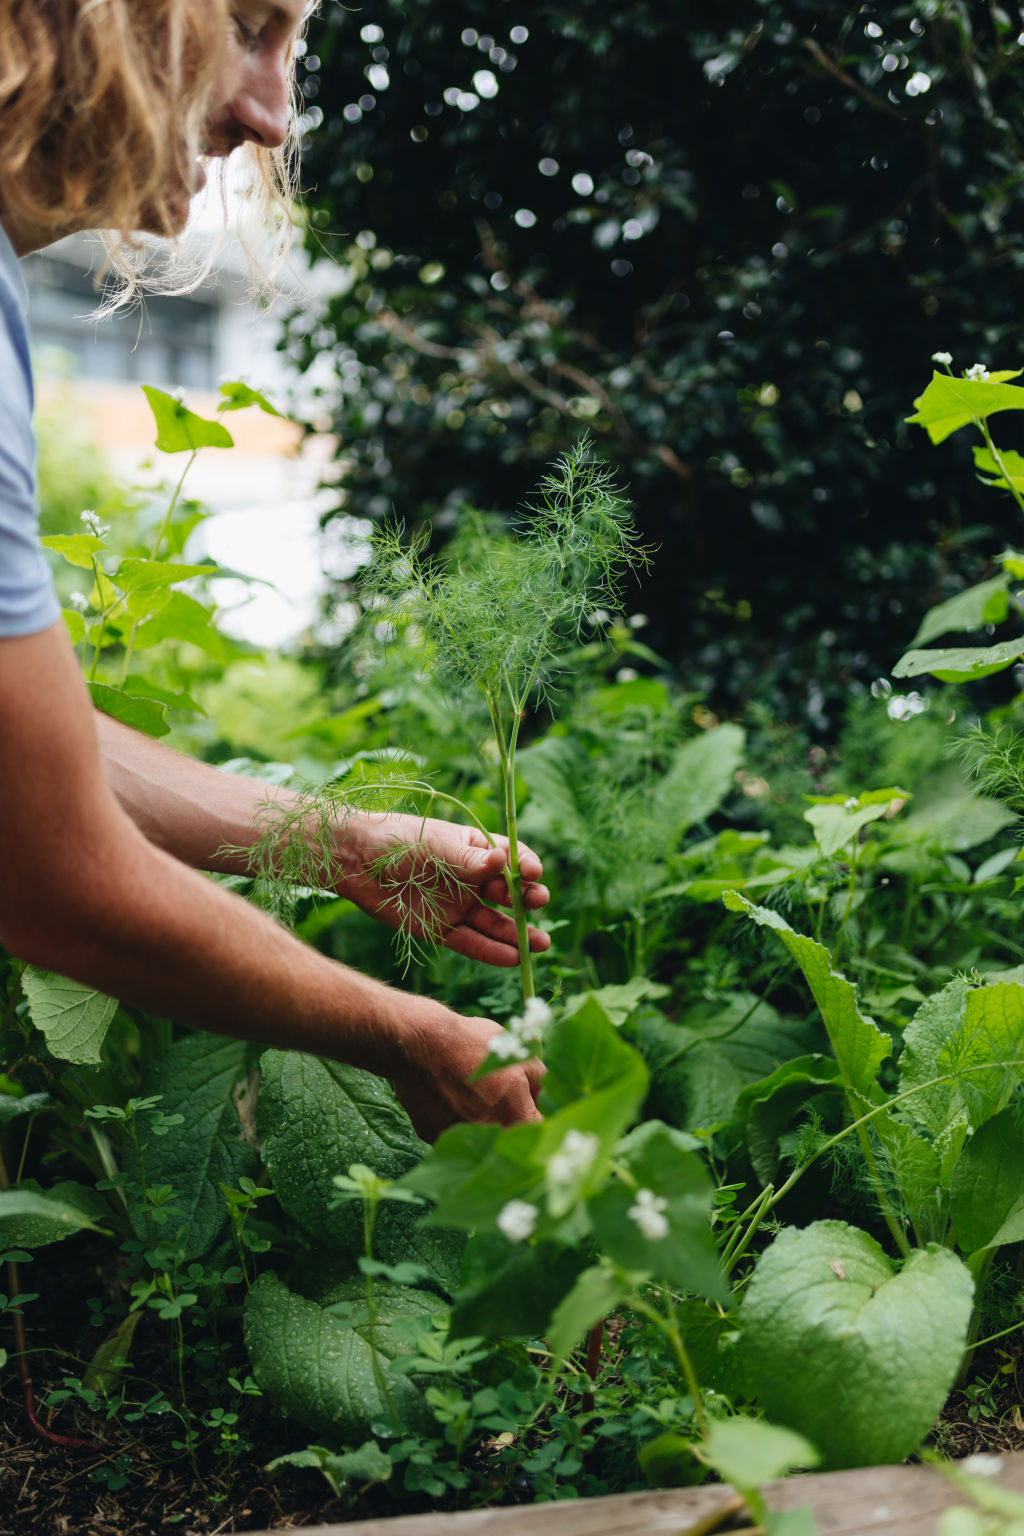
Top tips for growing herbs:
Consider growing conditions to get the most out of your herbs.
- Bigger pots will mean deeper roots and more water-holding capacity, so you can give your herbs a deep water then go away for a few days.
- Use premium potting mix only. It’s not all just “dirt” in a bag at various prices. The bag should have the red and white Australian Standard “Premium” logo on the front. The $6 potting mix or compost is akin to sawdust and dries out by 9am on a hot day. To improve the quality of your store-bought mix, add compost or worm castings and then top with light mulch (sugar cane or pea straw).
- Sun, and lots of it, is the ultimate ingredient here. More than six hours a day is ideal. Most herbs will stay stunted and slow-growing in fewer daylight hours, so give your herbs a northern aspect where they can collect more rays each day.
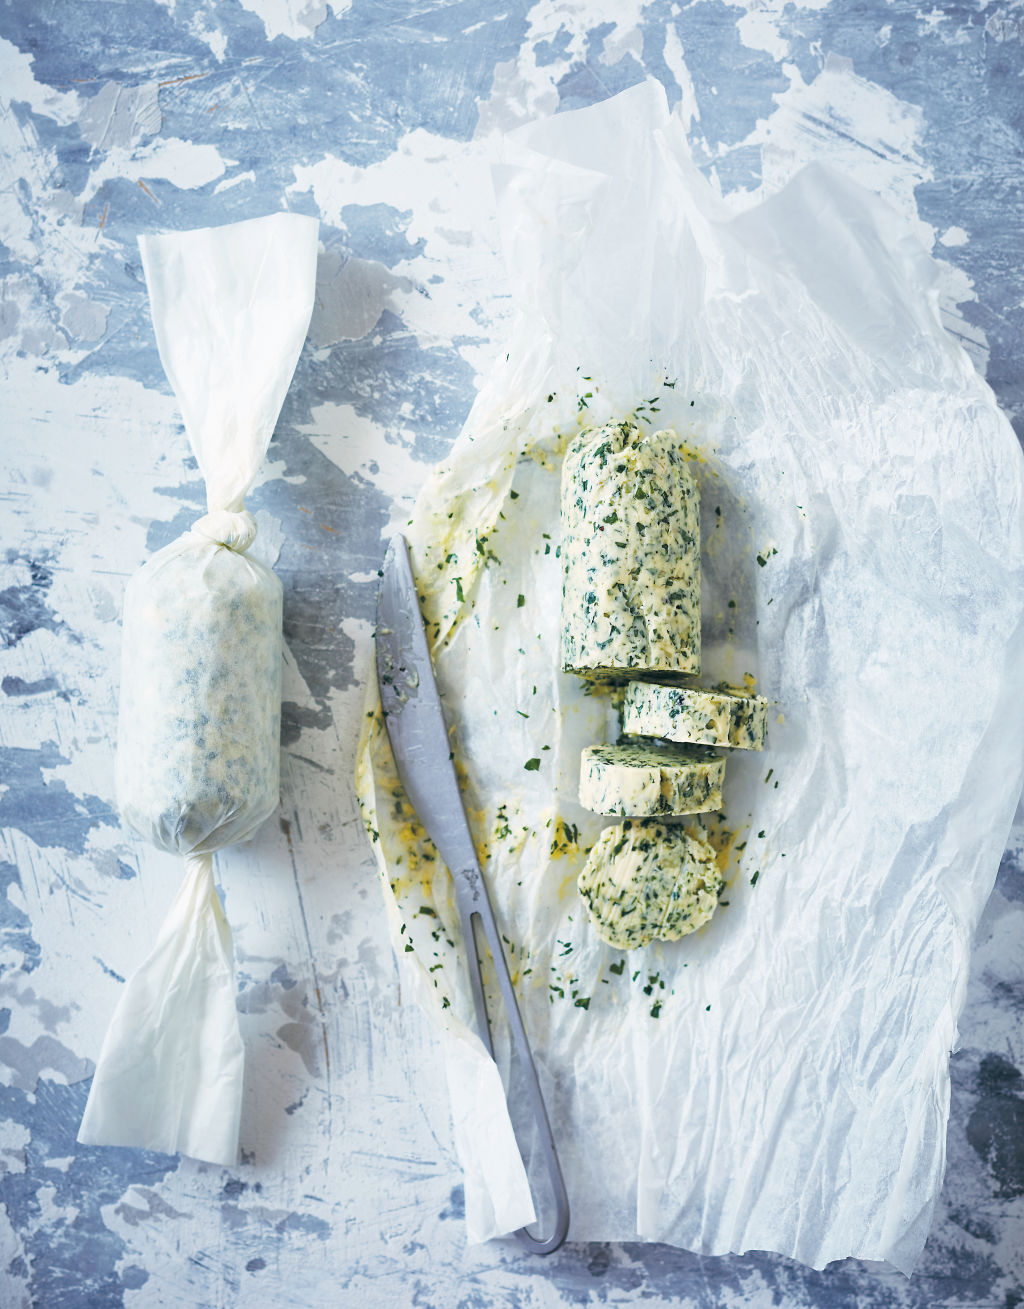
Recipe for garlic and parsley butter
Makes
½ cup / 1 stick
Ingredients:
- ½ cup (1 stick) unsalted butter, softened to room temperature
- ¼ cup finely chopped parsley
- 2 garlic cloves minced
- 1 teaspoon coarse sea salt
- 1 teaspoon freshly ground black pepper
Method:
- In a small bowl, combine all ingredients. Mix well until herbs are distributed evenly.
- Spread a large piece of baking paper onto your kitchen bench. Place the butter mixture in the center of the wrap and shape it as best you can into a log.
- Tightly wrap the log with the baking paper and secure the ends tightly with twine or twist ties. Roll the log back and forth in the paper wrap to create a compact, even log.
- Chill in refrigerator until firm, it should take about 1-2 hours. Will keep in refrigerator for about 2 weeks, and in the freezer for a few months.
Tip:
Depending on what you’ve got growing, you could replace the parsley with sage, thyme, oregano, rosemary or chives.
We recommend
States
Capital Cities
Capital Cities - Rentals
Popular Areas
Allhomes
More

